
Tile Installation Cost: 5 Surprising Factors That Can Make or Break Your Budget
A practical guide to understanding what drives tile installation cost and how to plan ahead
Here’s the thing about tile installation cost: the number you see on your first bid is rarely the number you’ll actually pay. Why? Because most quotes are based on a “standard” install. Think a basic porcelain subway tile in a bricklay pattern. But the minute you decide you want a herringbone, or you fall in love with a zellige tile backsplash, suddenly the price changes.
Why did this bid triple overnight? 🤯
Well, the gap usually comes down to five details that affect labor, material, and timing. Let’s walk through each one so you can spot hidden costs early and avoid the dreaded mid-project surprise.
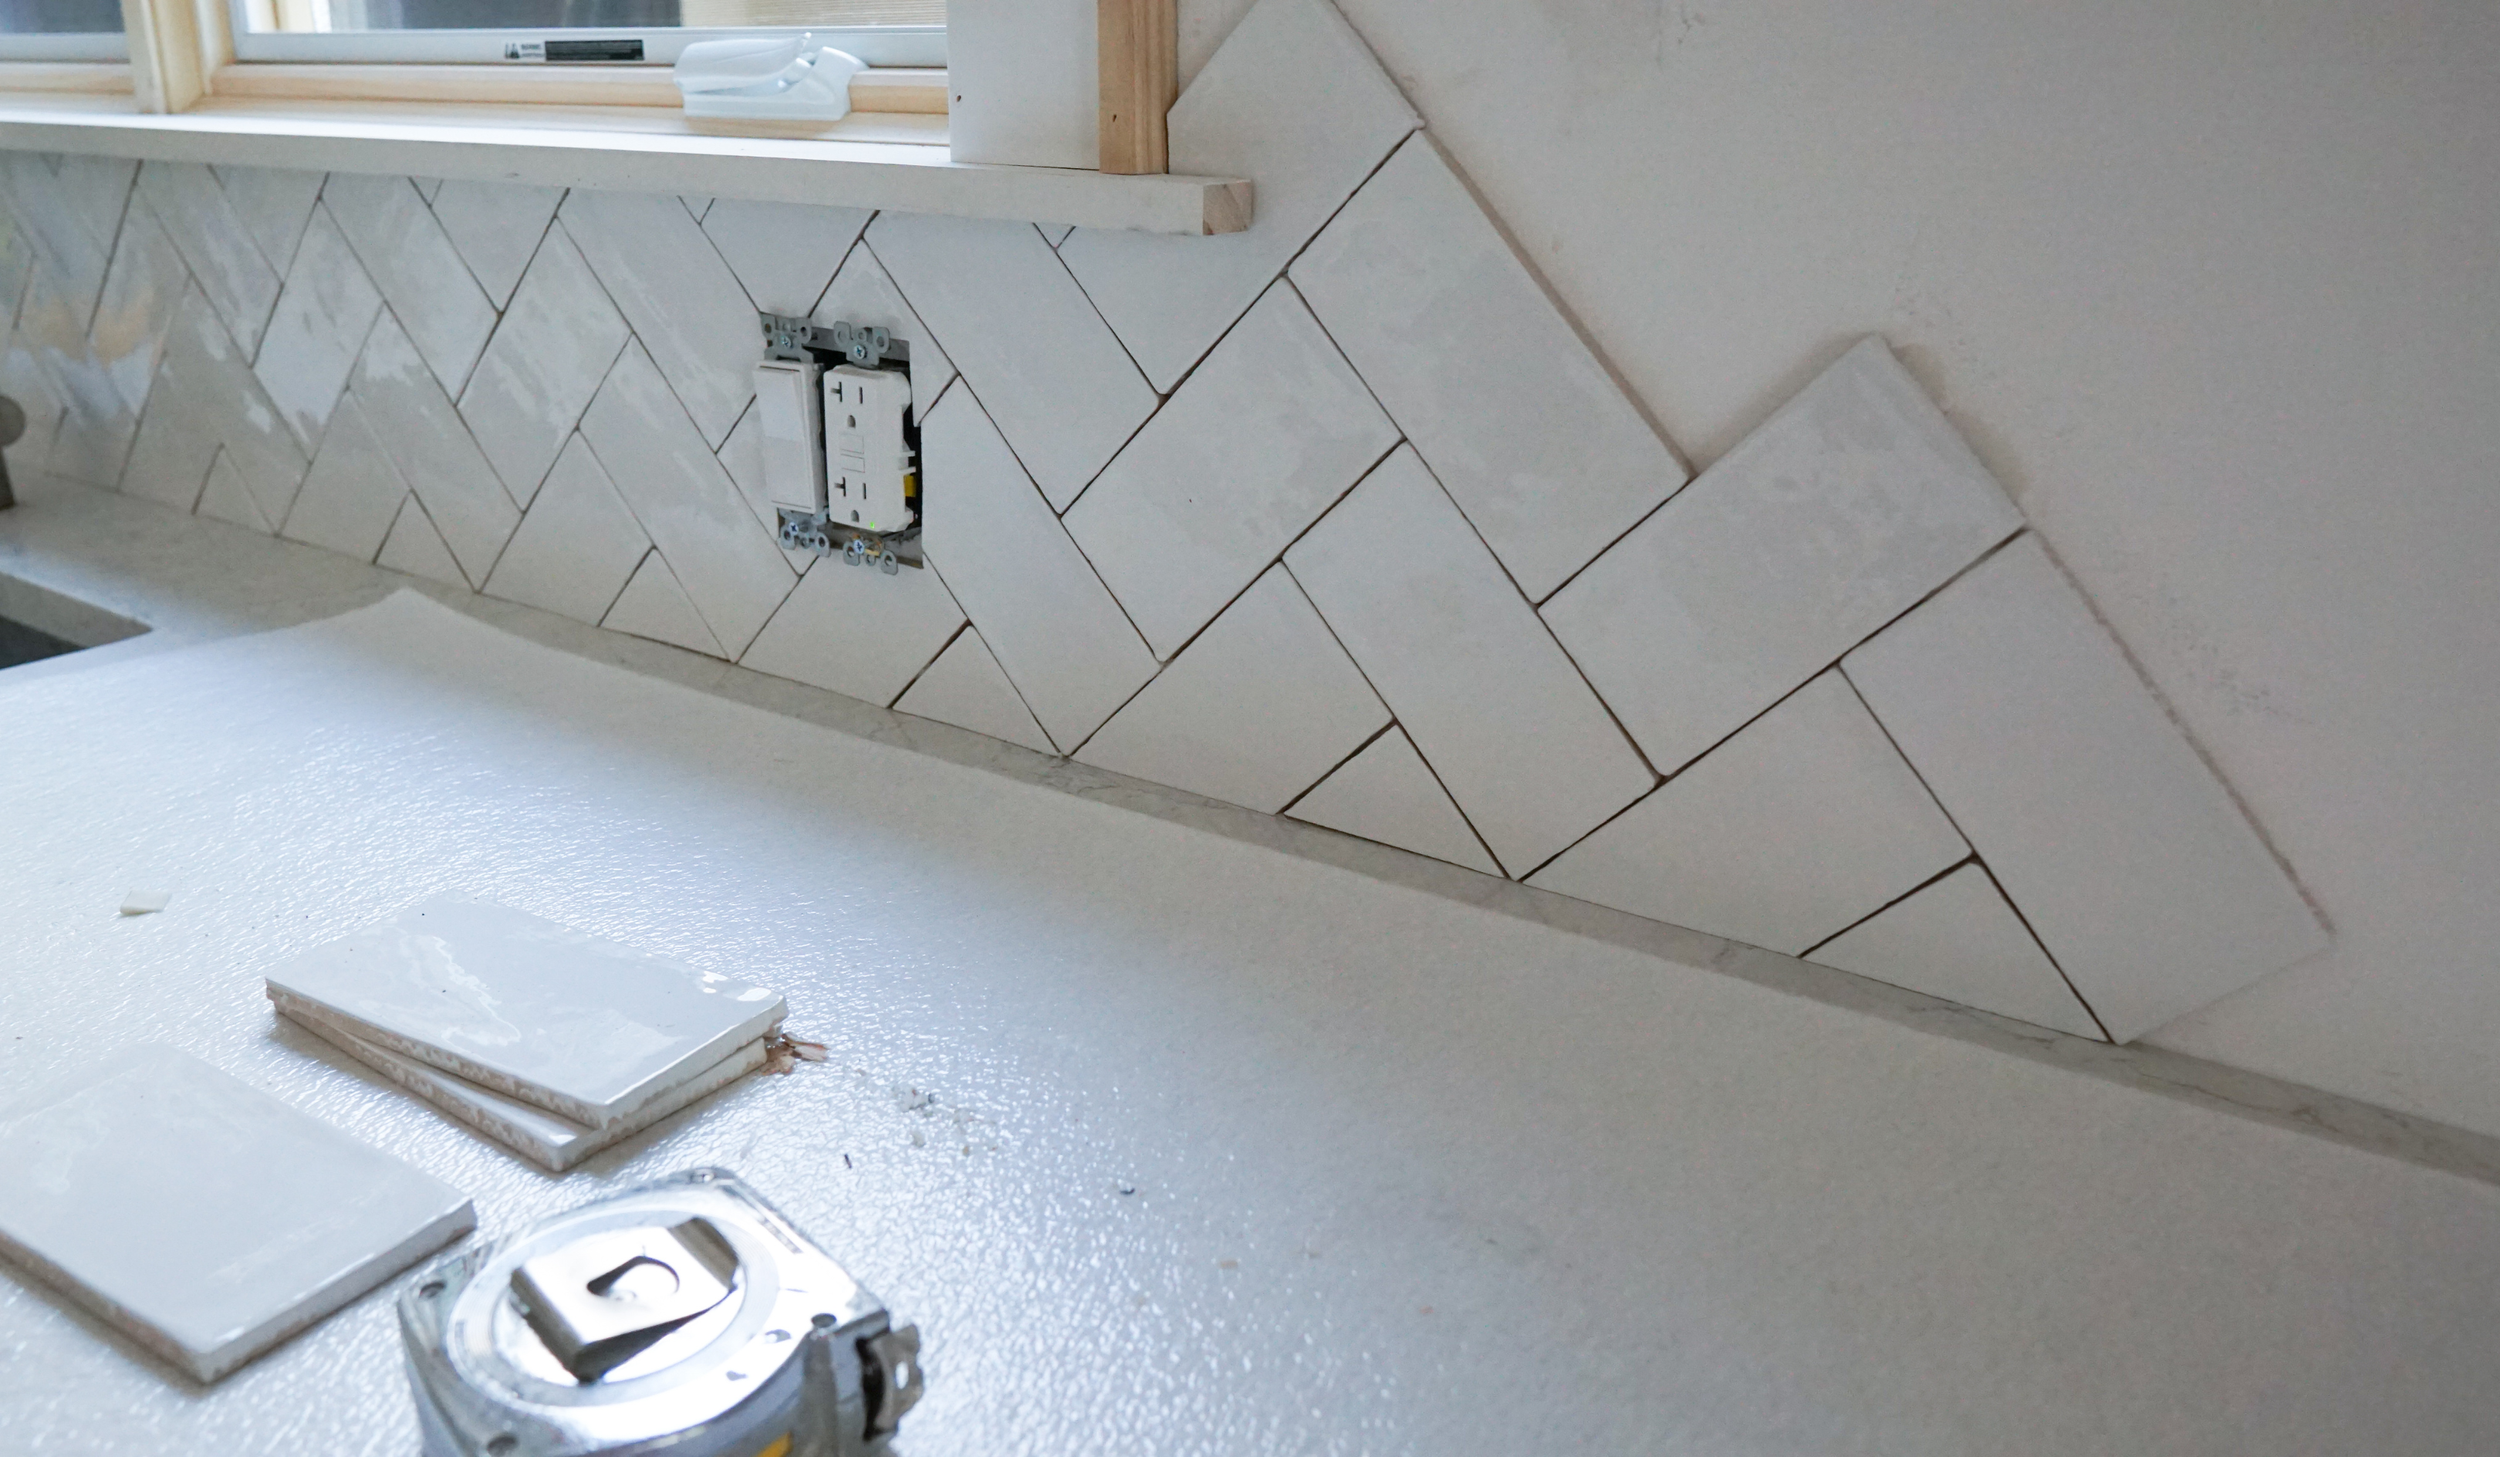
1. Tile Installation Cost and the Size + Orientation of Your Tile
Tile size and layout are the first things that can blow up your quote. A standard 3x8 subway in a simple bricklay? That’s straightforward and quick. But swap that for tiny penny rounds on an entire bathroom floor, or large-format 24x24 tiles that need perfectly level subfloors, and suddenly your installer is spending way more time on prep and placement.
Why it costs more:
More cuts = more time. Tiny mosaics or curved layouts require more precision and patience.
Large-format tiles often mean extra prep (leveling the floor or wall) so they don’t crack.
Waste goes up because unusual sizes or shapes demand more material for all those tricky cuts.
DESIGN TIP
If you love a dramatic look, consider using it strategically. A penny-round floor in a powder bath or a bold large-format tile on a single feature wall makes a big statement without tripling your labor cost across the whole project.
2. Grout Type and How to Seal Tile Grout Without Delays
Grout doesn’t usually add much to the dollar amount, but it can delay your timeline. Specialty grouts may need to be ordered, which means you’re waiting on shipping instead of installing.
What most people miss:
Some types of grout are harder to apply and clean, so installers charge a little more.
Specialty colors can be backordered. If you don’t order ahead, your entire project stops.
Even standard grout needs sealing. If you’re wondering how to seal tile grout, your installer will usually handle it, but it’s an extra step that takes time (and sometimes an added fee).
DESIGN TIP
Decide on grout early. Don’t wait until the install week. And confirm whether your installer includes sealing in their bid, or if that’s an additional charge.
3. Tile Trim: The Detail That Changes the Whole Look
Trim pieces are one of the sneakiest factors in tile installation cost. You can’t just leave the raw edge of a tile exposed. It needs a finished edge. And your choice of tile trim changes both the price and the look.
Options to know:
Schluter: Metal edging that comes in different finishes. Clean, modern, and widely available.
Jolly trim: A thin coordinating ceramic piece that matches your tile. Timeless, but not every tile line offers it.
Tile-integrated trim: Some tiles come with their own finishing edges built in, but they can be pricier and harder to source.
Where homeowners go wrong: They don’t plan for trim at all. Then suddenly the installer asks, “How are we finishing these edges?” and you’re stuck making a last-minute choice.
DESIGN TIP
Think about trim while you’re still in the design phase, not when your tile is already on the wall.
👉 Want more detail? I wrote a full post on Finishing Edge of Tile: Schluter, Pencil, or Bullnose?. It’s a simple breakdown of the most common trim options and how to avoid mismatched edges.
4. Natural Stone and the Cost of Sealing
Marble, travertine, and limestone are stunning, but they’re not plug-and-play materials. Natural stone always requires sealing, both at install and periodically afterward.
What that means for your budget:
Sealer costs extra, both in product and labor.
Natural stone is more fragile, so installers take longer (read: higher labor bill).
You’ll likely need resealing down the line to keep stains and water damage out.
DESIGN TIP
Ask your installer exactly what type of sealer they use and how often it should be reapplied. Building the maintenance into your budget upfront will save you from the shock later.
5. Tile Material: Why a Zellige Tile Backsplash Costs More
Zellige tile has been all over Instagram (and for good reason!). It’s handmade, full of color variation, and creates the most beautiful, organic backsplash. But here’s the catch: a zellige tile backsplash is one of the trickiest installs.
Why it costs more:
Zellige tiles are irregular, so each piece has to be placed carefully to look intentional.
The grout lines are thinner and less forgiving than standard tile.
Extra sorting and spacing during install = more hours of labor.
DESIGN TIP
If you’re craving zellige but not the extra cost, use it in a smaller area, like a bar nook, instead of your full kitchen backsplash.
👉 If you’re exploring zellige or natural stone, don’t skip Choosing Grout? These 3 Types of Grout for Tile Will Make or Break Your Design. It’s packed with practical advice for pairing specialty tiles with the right grout.
Wrapping It Up: Getting a Realistic Tile Installation Cost
The biggest reason tile quotes don’t match expectations? Homeowners and installers aren’t talking about the same thing. The installer assumes “basic porcelain, basic layout.” You’re picturing marble herringbone with specialty grout and custom trim. That gap is where costs creep in.
When you’re planning a kitchen renovation, ask about these five factors up front: tile size and orientation, grout type and sealing, trim pieces, natural stone, and specialty materials like zellige. The more details you confirm before the bid, the more accurate your tile installation cost will be (and the fewer surprise charges will show up halfway through!)
👉Bonus Resource: Before You Order Tile, Let’s Talk Cabinets
Here’s the reality: your backsplash isn’t the only place unexpected costs can sneak in. Cabinets are one of the biggest (and easiest-to-mess-up) investments in a kitchen renovation. From drawers that collide to finishes that clash with your flooring, I’ve seen it all. That’s why I put together a free guide:
🌱 Grab my FREE guide here→ Kitchen Renovation on a Budget: Top 7 Mistakes to Avoid When Choosing Kitchen Cabinets
This quick, practical PDF breaks down the most common mistakes I see clients make and shows you how to avoid them. Sign up now, and I’ll send it straight to your inbox!