
The #1 Wall Mounted Faucet Install Mistake Most People Don’t Know They’re Making
A real-life lesson in form, function, and gravity
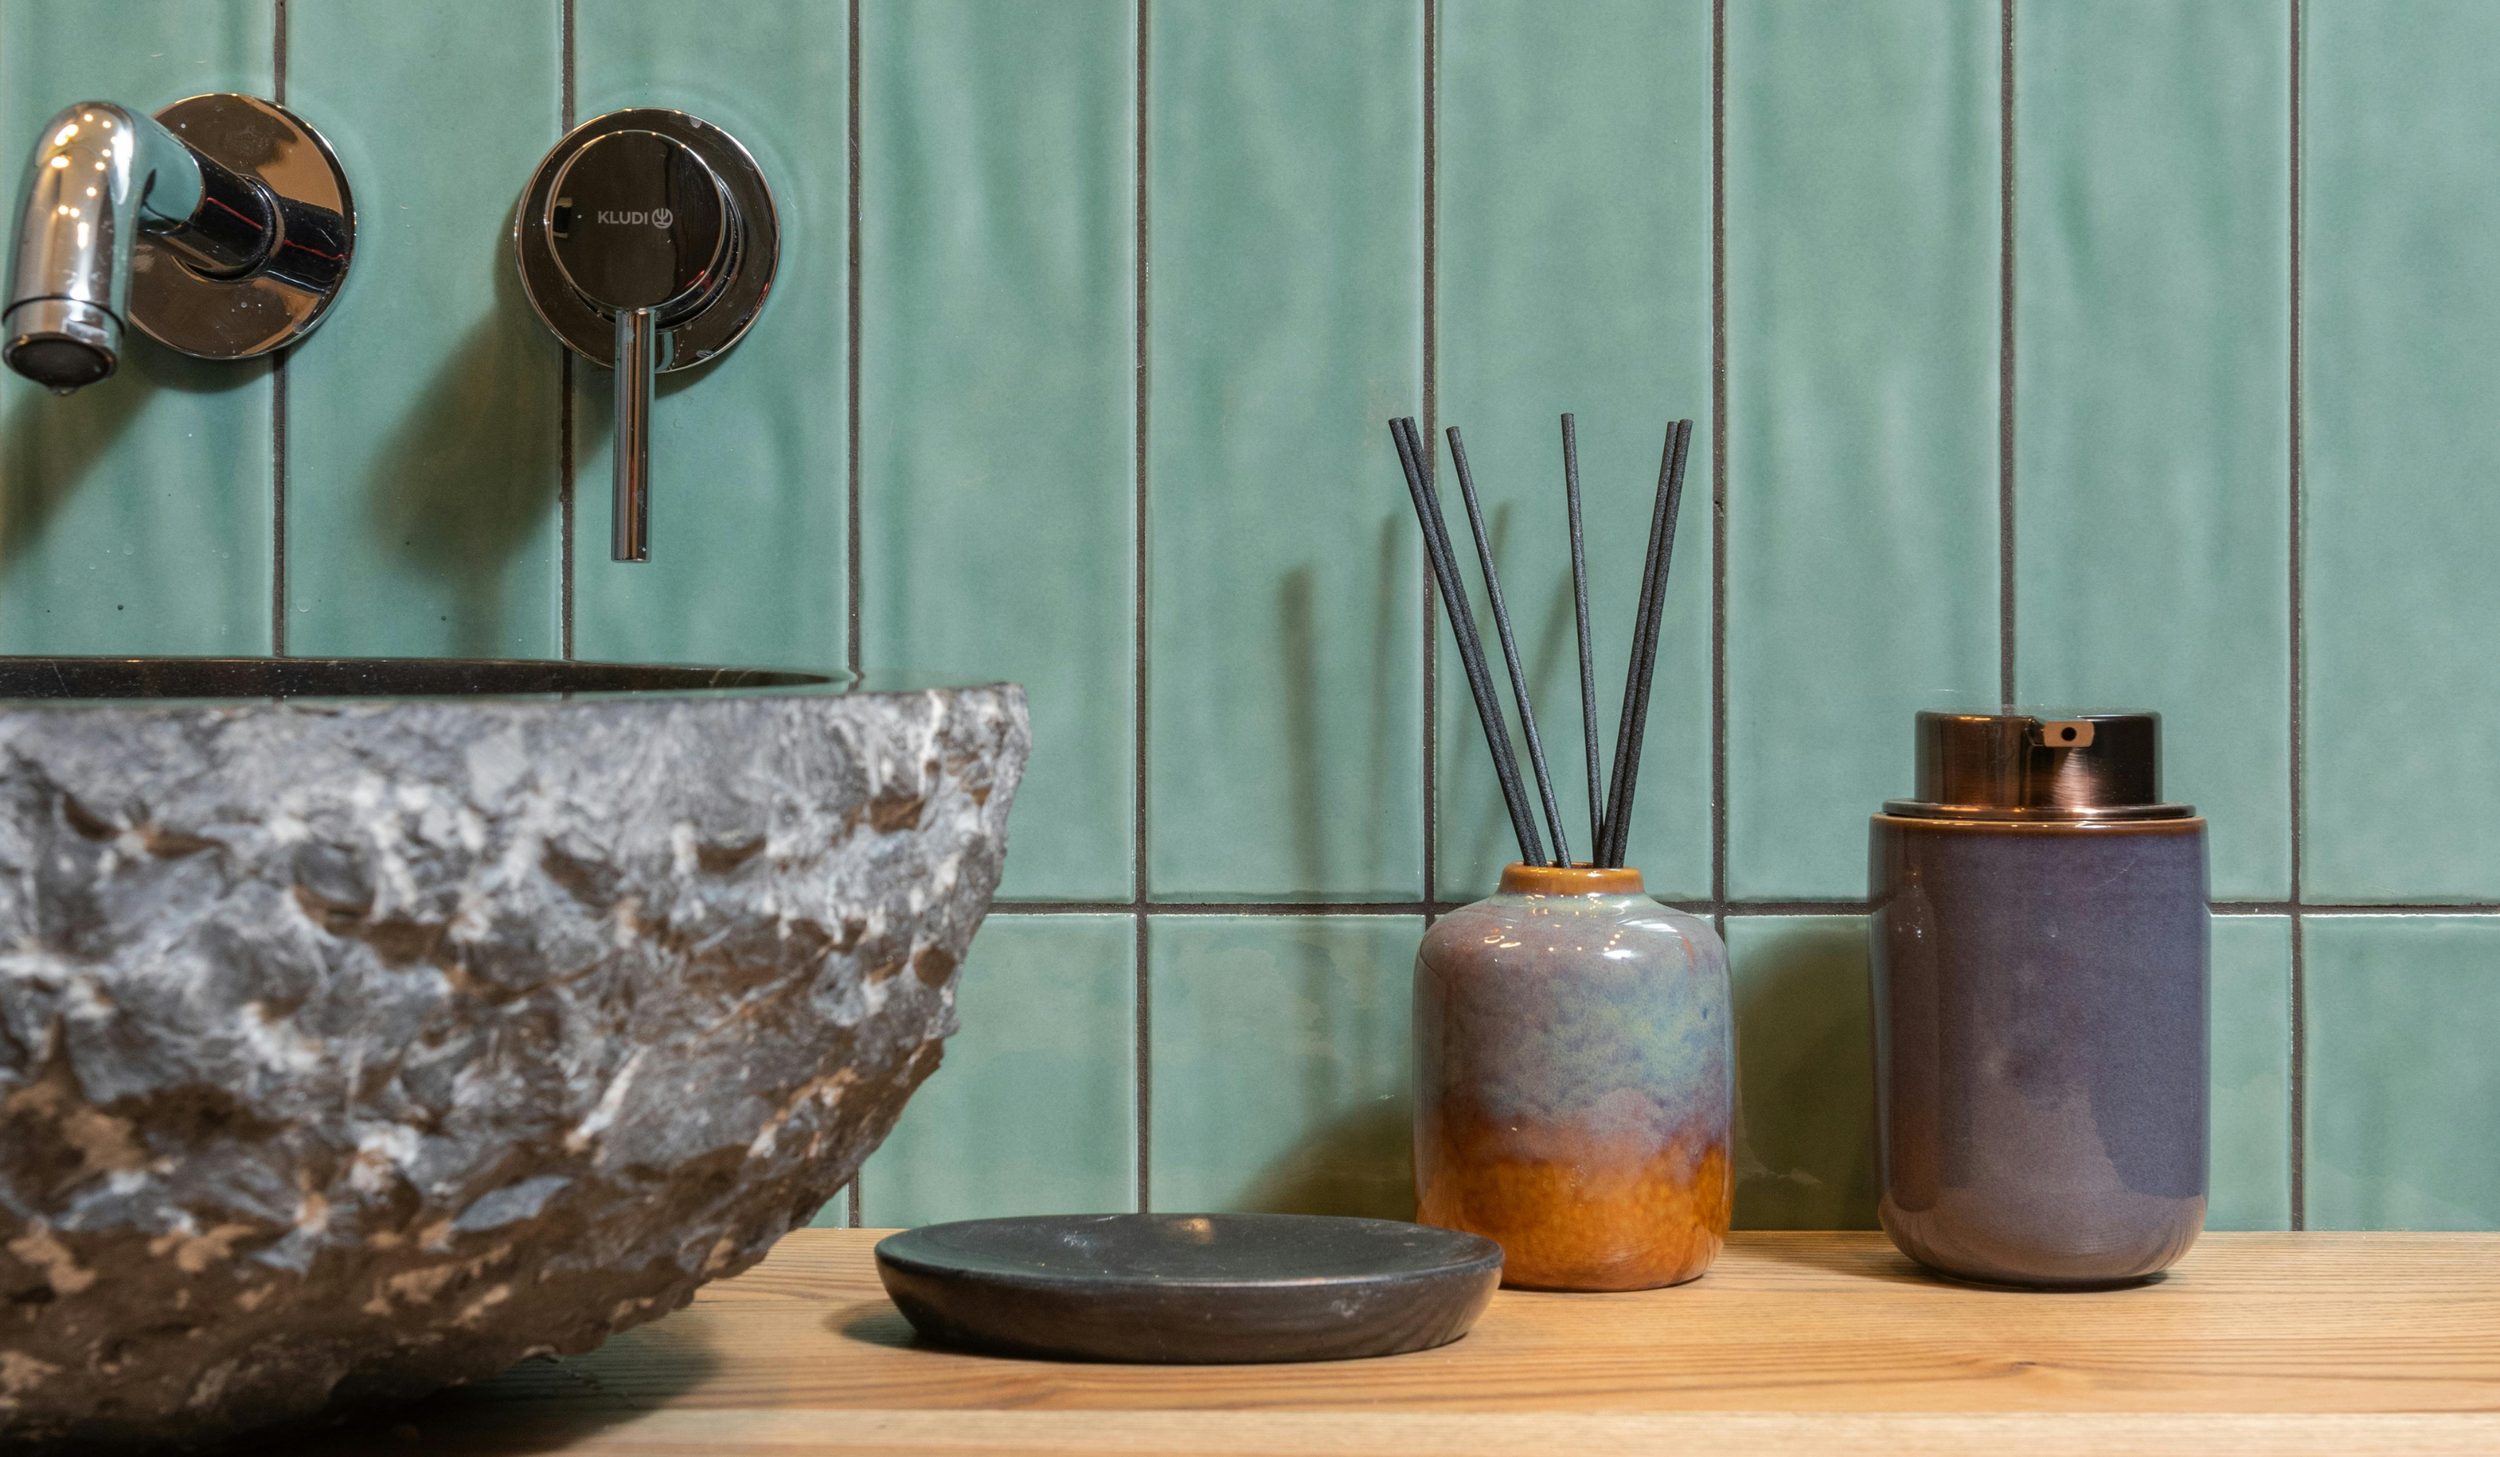
Let’s talk about wall mounted faucets. These sleek, space-saving beauties can make any sink setup feel a little more elevated. They’ve become super popular in kitchens and bathrooms, and honestly, I love the way they clean up a countertop and add that extra design edge.
But there’s a catch. And it’s one that most people don’t find out about until after installation. That’s exactly why I’m writing this post now. I don’t want you sending me a photo six months from now with the caption, “Why is this dripping?”
What Most Displays Get Wrong About Wall Mounted Faucets
Walk through any showroom or scroll a few faucet photos online, and you’ll probably see the same setup: a wall mounted faucet with the handle pointed down. You tap it forward to turn it on, and the water flows. Seems fine, right?
Except, it’s not.
Here’s what actually happens when you install it this way: Gravity takes over. That handle you’re pressing down to turn on the water gets pulled farther down every time it’s used. Eventually, that constant pressure wears on the valve inside, and you end up with a slow, constant drip or a faucet that no longer turns off cleanly.
This is one of those cases where function really needs to win over what’s shown on the box.
How to Install Wall Mounted Faucet Handles the Smart Way
Here’s the fix, and yes, it might look a little different at first. The lever should be installed facing UP. That means you’ll pull it up to turn on and push it down to turn off. It might feel counterintuitive at first, especially if you’re used to the pull-down style, but trust me on this one.
If you’re Googling how to install a wall mounted faucet, this is where you want to pause and double-check that orientation. Not only does it protect the mechanism inside, but it also helps the handle rest naturally in the off position, which minimizes the chance of leaks or wear over time. I’ve had clients question it mid-build, and every time I recommend sticking with the “lever up” method so they can avoid repairs later.
Wall Mounted Faucet for Kitchen Use: What to Consider
If you’re installing a wall mounted faucet for kitchen use, you have a few extra things to think about.
1. Sink placement matters.
Unlike a deck-mounted faucet, a wall-mounted one needs to align perfectly with the sink basin. There’s no wiggle room. So make sure your plumber and your countertop fabricator are in sync before anything gets drilled.
2. Tile layout impacts everything.
Your tile or backsplash needs to be fully considered when placing the faucet. This isn’t the kind of fixture you want to “center by eye” after install. Measure it out, mock it up, and make sure everything lines up both visually and functionally.
3. Get the depth right.
Wall-mounted faucets should extend far enough so that the water hits near the center of the basin. If it's too close to the edge, you'll end up splashing every time you wash a dish. Check the reach before finalizing placement.
If you’re working through a kitchen renovation on a budget, the last thing you want is to redo tile or plumbing because the faucet was off by half an inch.
Does It Look Strange? Maybe. But It Works.
Let’s just say it. Yes, having the lever face upward might look “off” the first time you see it. You might question the decision. Your contractor might even raise an eyebrow. But function matters more than familiarity.
A few months in, you’ll forget all about the handle direction. What you won’t forget? A faucet that works flawlessly and doesn’t drip all over your countertops. That’s the real win.
I’ve recommended this method more than once, and it always pays off. Because when you're standing at the sink every day, flipping a handle that actually stays off feels like a tiny, but very satisfying, design victory.
What to Ask Your Installer Before Mounting
If you’re not the one doing the install, here are a few smart questions to ask your plumber or contractor:
Can we install the lever to face up instead of down?
Is there enough depth clearance to avoid splashing?
How are we centering the faucet in relation to the sink and backsplash?
Are we double-checking the waterlines before tile goes up?
These might feel like tiny details now, but they’re the difference between “Oh no” and “I love this thing” after install. A 5-minute conversation can save you hours of frustration.
Why This Matters in a Kitchen Renovation on a Budget
When you’re working through a kitchen renovation on a budget, these little oversights are what cost the most. Not because the faucet is wildly expensive, but because fixing a bad install often means ripping out tile, re-routing plumbing, or living with a daily frustration you can't unsee.
It’s easy to hyper-focus on cabinet finishes, paint swatches, and tile samples. But the way a faucet functions day to day has a huge impact on how you feel in your kitchen.
Prioritizing function helps you create a kitchen that supports the way you actually live. It's the kind of decision that makes a difference long after the renovation is done. And when the little things work effortlessly, the whole space feels like a dream.
P.S. Don’t Let Cabinet Regrets Sneak Up on You
You’re spending hours obsessing over faucet finishes, grout samples, and tile layouts…but what about the real daily pain points?
Drawers that don’t fit your spice jars…
Upper cabinets that no one in your house can reach…
A “pantry” that’s somehow...always a mess…
Before you finalize your cabinet selections, make sure you’ve thought through the things that actually impact how your kitchen functions. I put together a free guide that walks you through the top 7 mistakes I see people make when choosing kitchen cabinets (and how to avoid them.)
⭐ Grab my FREE guide→ Kitchen Renovation on a Budget: Top 7 Mistakes to Avoid When Choosing Kitchen Cabinets
Because, like a properly installed wall mounted faucet, smart cabinets are the unsung hero of a renovation that works.