
Flooring Transition 101: Why Flooring Thickness Can Make or Break Your Renovation
A smooth, seamless look starts long before installation day.

You know that tiny bump you feel when you step from tile to hardwood? The one that makes you think… wait, is that supposed to be like that? 🫣
That is a flooring transition issue. And guess what? It is totally preventable.
Here’s what most homeowners don’t realize:
→ Good flooring transition affects flow, resale value, and the overall feel of your home
→ Bad transitions create visual clutter and uneven edges
→ And the biggest culprit is almost always incorrect flooring thickness
Today, we’re breaking down the five details that matter most if you want a clean tile to flooring transition, without those dreaded metal strips or strange height changes.
Grab your coffee. This is renovation gold you’ll wish you knew sooner!
1. Flooring Thickness Matters More Than You Think
Most homeowners assume flooring is all the same thickness. Porcelain tile, engineered wood, marble, luxury vinyl… how different could they really be?
Pretty different.
Here’s the average breakdown:
Porcelain tile: about ¼ inch
Cement tile or marble tile: about ½ inch
Engineered hardwood: around ⅝ inch
Solid hardwood: ¾ inch
Large format stone: varies, but usually thicker than you expect
These small differences are what cause uneven flooring transitions from wood to tile. And that’s exactly what will happen if your builder isn’t planning ahead.
The Importance of Planning Ahead
Your installer can’t magically “fix” thickness changes during installation. If your tile is significantly lower than your wood flooring, you will need a transition strip. If it is too high, you will end up with a toe-stubber in the middle of your home. Neither is the look you want.
DESIGN TIP:
Start your flooring selections before demo even happens. Your builder needs these specs to prep the subfloor correctly.
2. Plan Your Flooring Transition Early for a Seamless Look
The earlier you choose materials, the cleaner your final result.
If there is one flooring transition rule I wish every homeowner knew, it is this: choose your flooring materials early. Like, very early.
Don’t wait until your contractor texts you a picture mid-build asking which tile you want for the guest bath. At that point, the subfloor has already been prepped, and your only options are transitions or expensive rework.
Why Early Matters
Builders adjust the subfloor based on your flooring thickness. They may float one room, recess another, or use underlayment to even out the levels. But they can only do that if they know what they are preparing for.
This is especially important when you go from:
tile to wood
stone to wood
engineered wood to carpet
porcelain tile to marble
Every combination requires something slightly different.
DESIGN TIP:
Make a simple PDF that lists each flooring material, its thickness, and where it goes. Share it with your builder, installer, and tile team.
📖 RELATED: If you’re choosing tile for multiple rooms, you’ll want to read this, too: Tile Installation Cost: 5 Surprising Factors That Can Make or Break Your Budget. It breaks down how layout, grout, trim, and specialty materials impact your final cost long before installation begins.
3. Communicate Clearly and Repeatedly with Your Contractor
Because assumptions cause expensive mistakes.
Designers repeat themselves constantly on job sites for a reason. People forget. Schedules overlap. And unless you’re reminding the project team about your materials and their thicknesses, someone might prep for the wrong thing.
Your new mantra: Tell everyone, every time.
This means:
Print the flooring thickness chart and tape it to the wall
Text and email it to your builder
Leave a copy in the garage with the tile
Review it during walkthroughs
It may feel repetitive, but this is how you prevent the “we didn’t know this tile was thicker” conversation that always ends in surprise costs. If you’re working on a kitchen renovation on a budget, this one step can save more money than you think.
DESIGN TIP:
If your team uses a project management app, upload your flooring details there too.
4. Use Subfloor Prep to Create Level Flooring Transitions From Wood to Tile
The unsung hero of smooth, custom-looking floors
Even if your materials have different thicknesses, a skilled installer can usually create a perfectly level transition by adjusting what goes underneath.
Here are the most common methods:
Leveling compound to raise lower tile areas
Recessed plywood to lower wood flooring
Additional underlayment to bring materials to the same height
Subfloor sanding or trimming
Waterproof membranes that also help adjust height
The important part is that your installer needs time to plan for this. They cannot do it on the fly once tile is already going down.
DESIGN TIP:
If a contractor tells you, “we’ll make it work,” ask them how. You want specifics, not blind optimism.
📖 RELATED: Building or renovating a kitchen at the same time? Your cabinetry choices impact your final flooring choices, too. My article, Kitchen Cabinet Renovation: 5 Must-Ask Questions for Your Cabinet Maker, covers the cabinet details most homeowners overlook.
5. Design for Flow, Not Patchwork
Your flooring transition should feel intentional, not accidental.
The best tile to flooring transition is the one you barely notice. That comes from choosing materials that flow visually and tonally.
Here is how to create that flow:
Choose colors that complement rather than compete
Keep wood grain direction consistent between rooms
Use thresholds only when changing zones or architectural styles
Let materials meet in clean, straight lines
Avoid “L-shaped” transitions unless absolutely necessary
DESIGN TIP:
You can mix warm woods with cool tile, or rustic wood with modern marble. The trick is balancing tones and textures so the transition feels smooth, not abrupt.
Flooring That Transitions Beautifully
If you want flooring transitions that look custom instead of “contractor default,” start here. These materials have the right thickness, tone, and texture to move from room to room without skipping a beat.

A soft, elegant chevron pattern that instantly elevates a space. Light movement, subtle character, and a matte finish that pairs well with both warm and cool tiles.
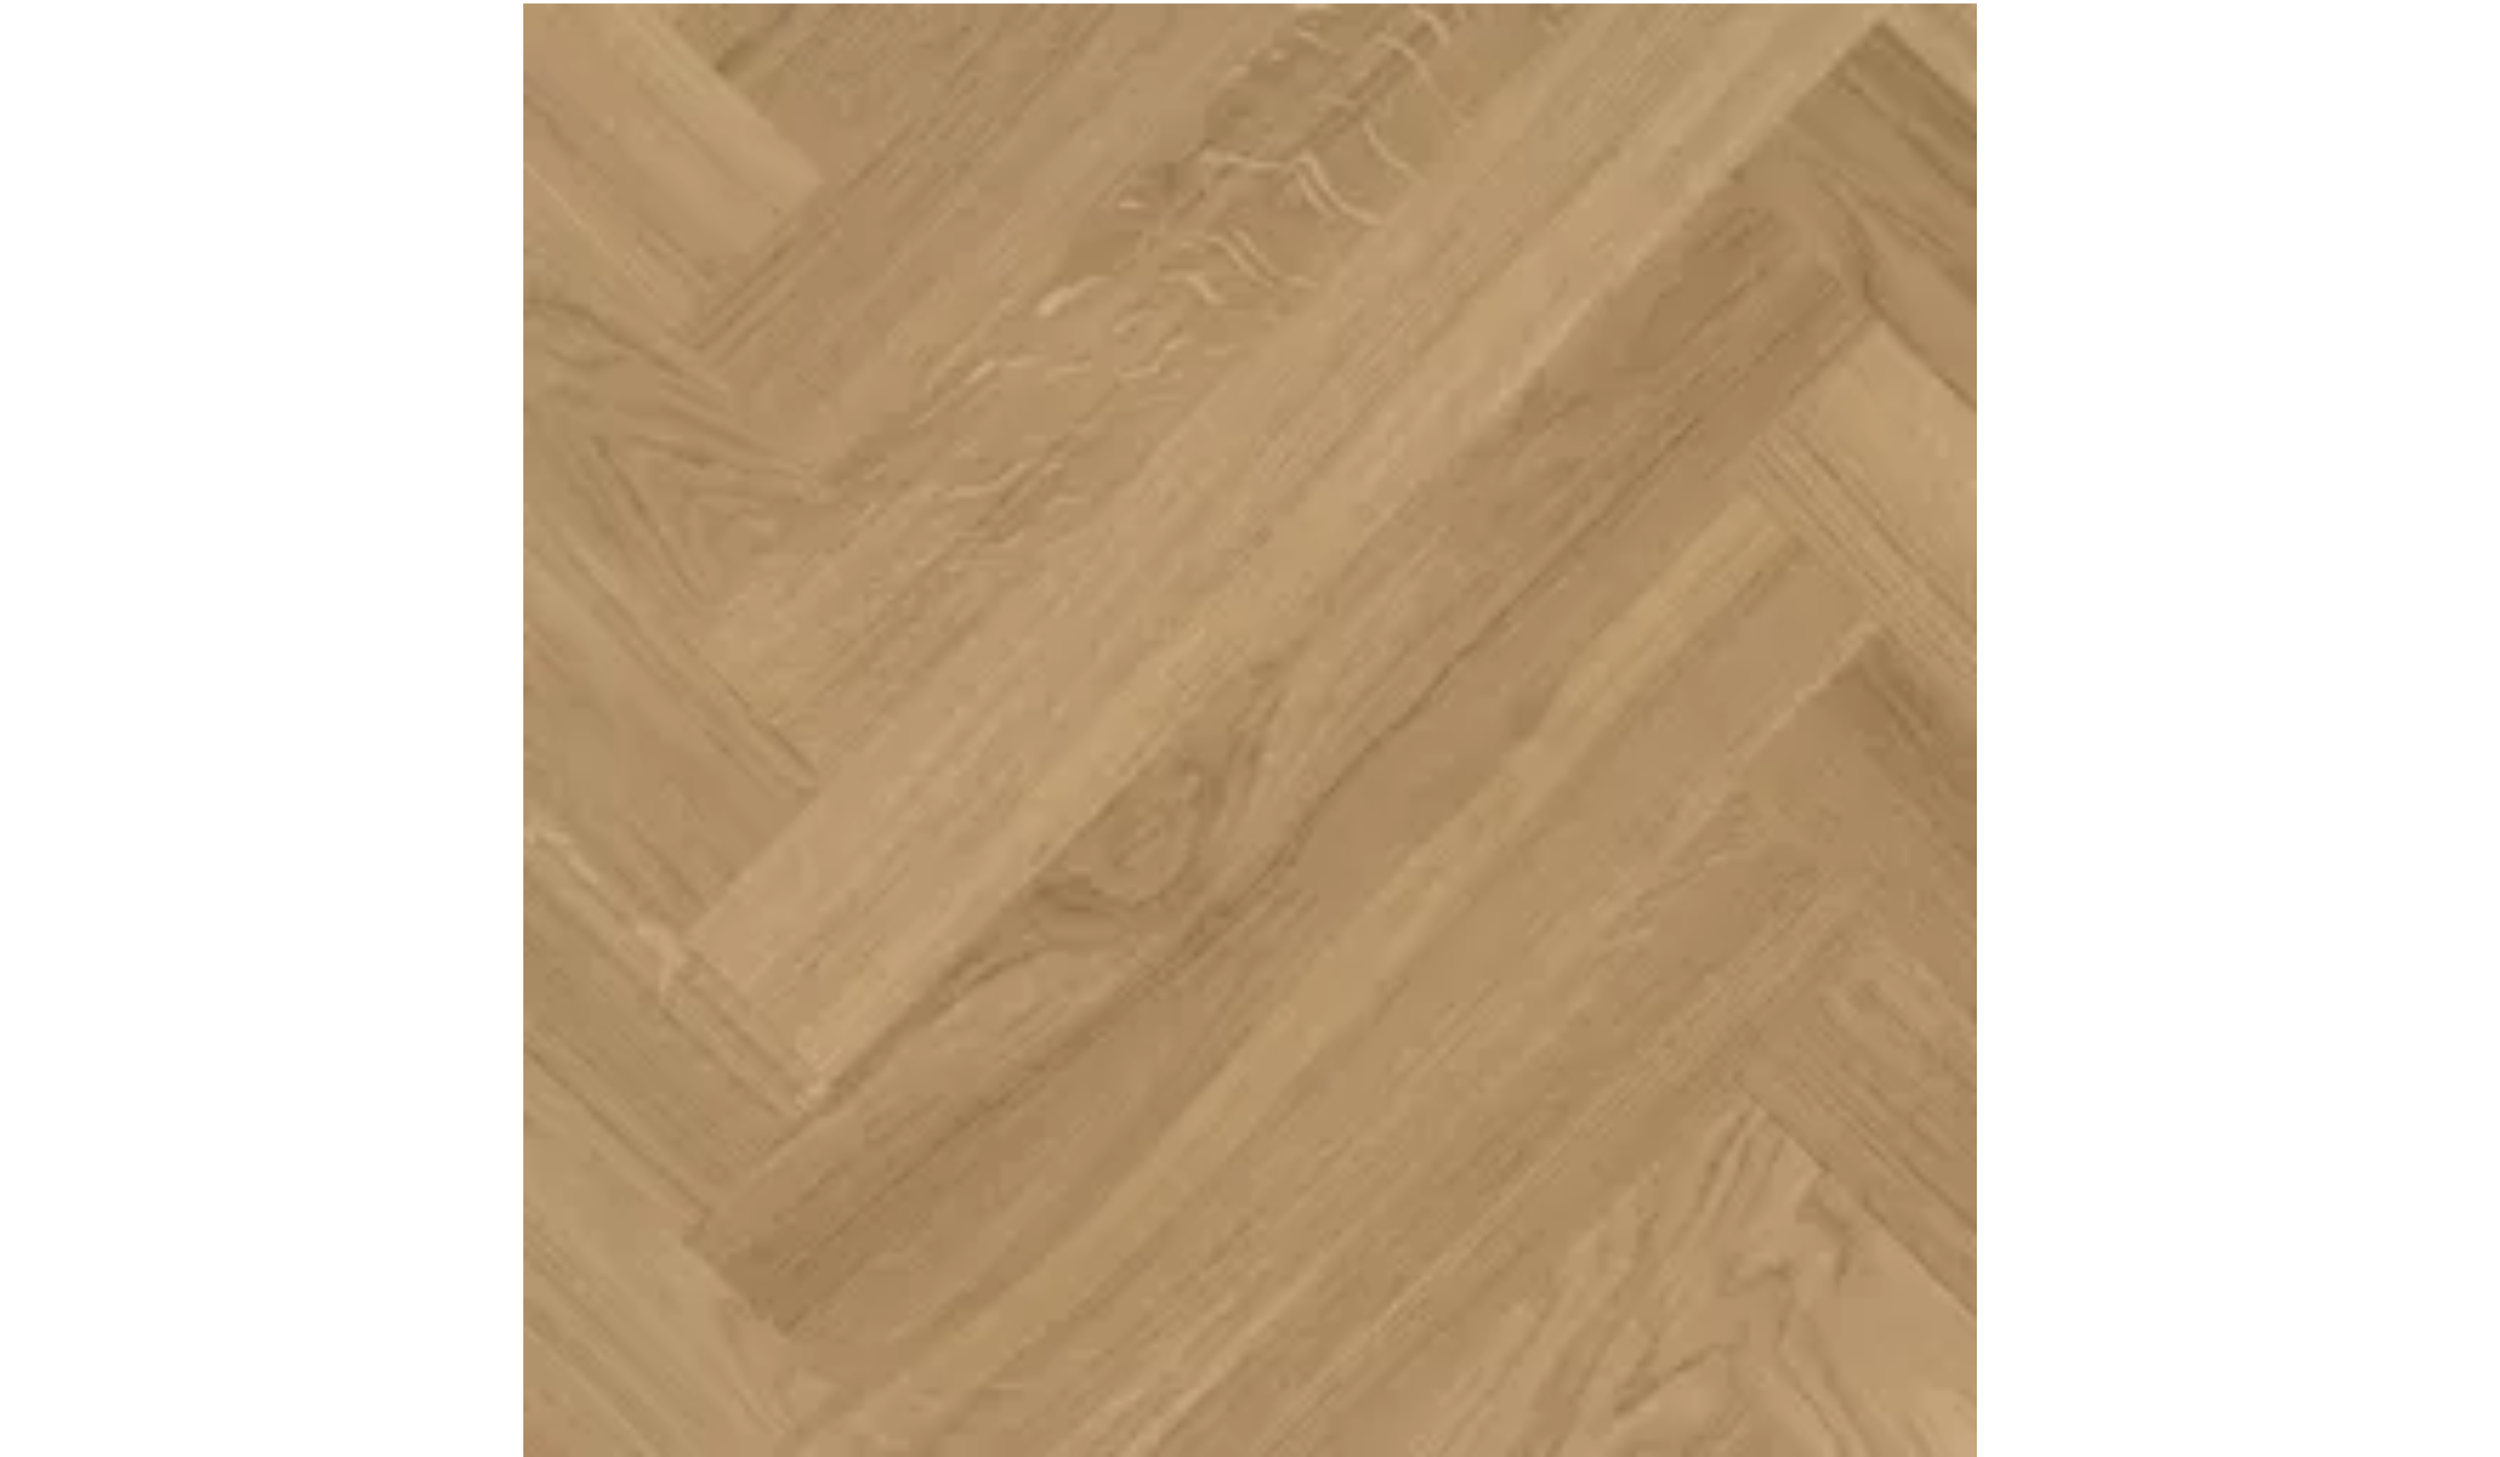
Warm, sophisticated, and endlessly versatile. This engineered oak plank brings the perfect amount of variation without overpowering your tile or stone.
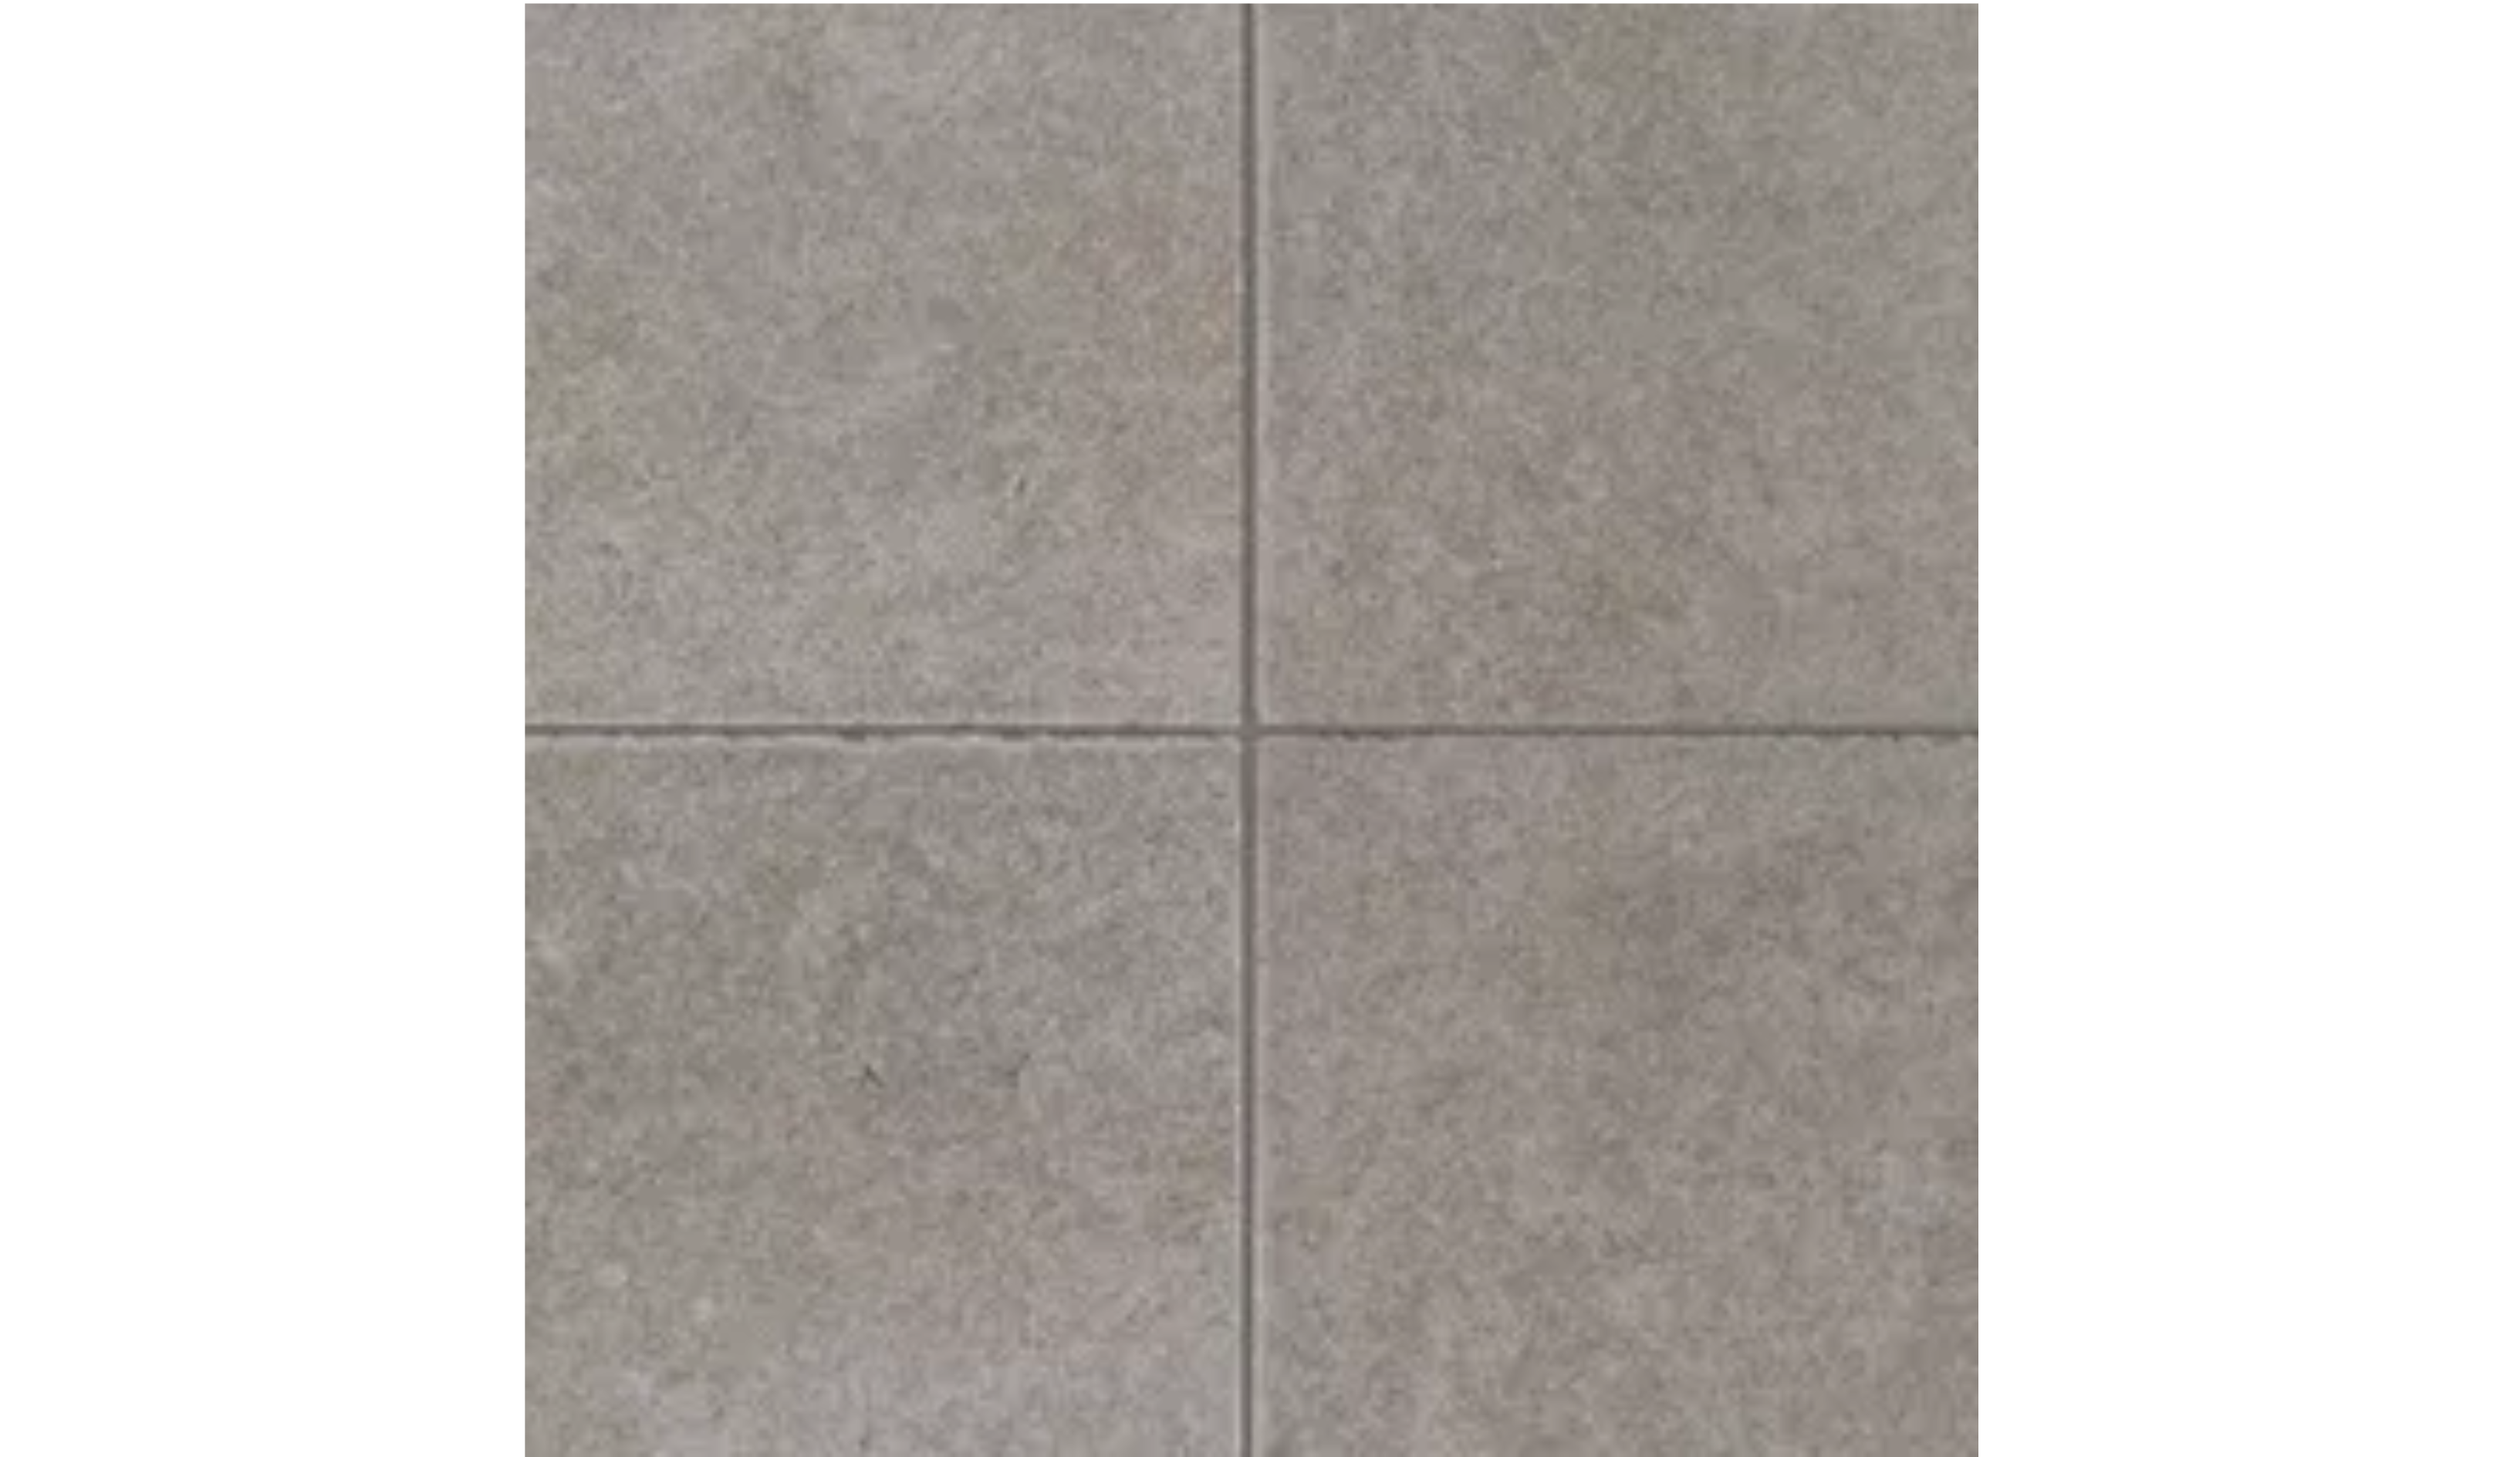
Cool gray with a high-sheen finish that is sleek, modern, and enduring. I love using this in laundry rooms and smaller bathrooms for an instant luxe feel.
Soft movement, handcrafted feel, and a classic herringbone that transitions flawlessly to hardwood.

Slightly wavy and perfectly understated. This tile looks beautiful next to warm wood floors.

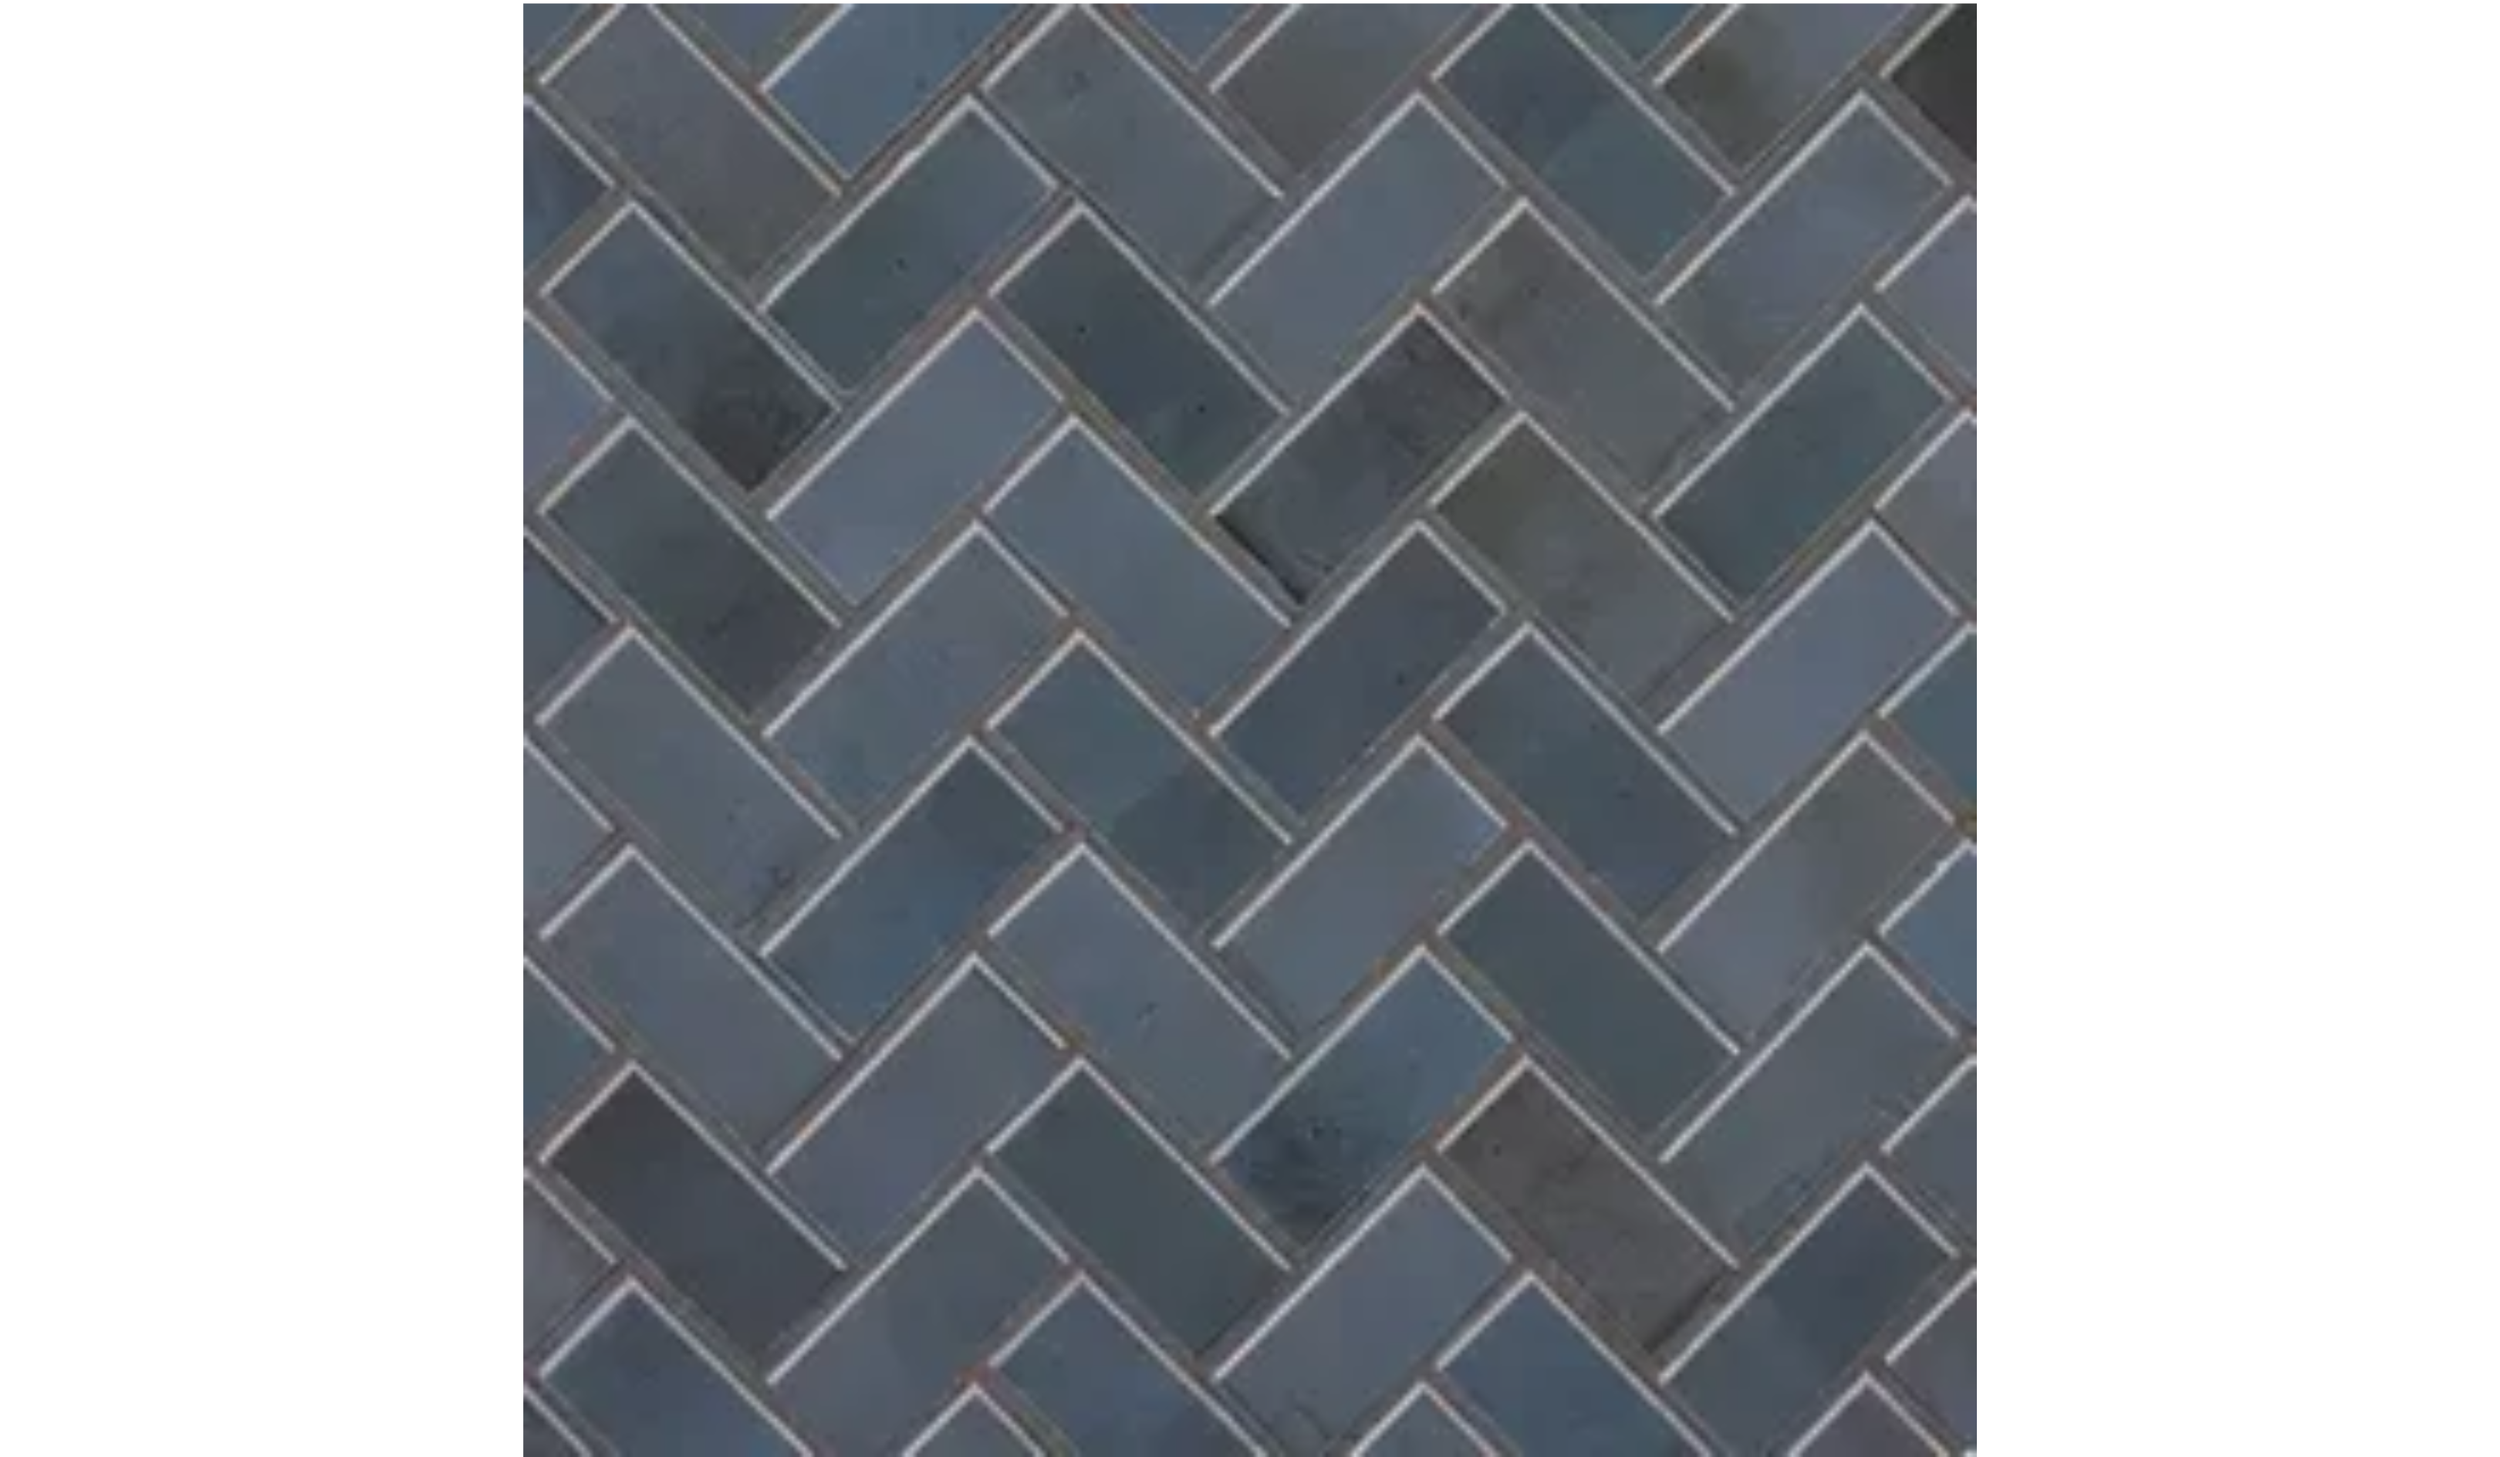
Vintage charm meets modern detailing. These stone mosaics bring instant character and play nicely with nearly any wood tone.
Whether you’re mixing marble, wood, or tile, these options add softness and sophistication without fighting for attention. They make transitions feel seamless, elevated, and (most importantly) planned.
*These are affiliate links. If you purchase through them, I may receive a small commission at no extra cost to you. I only share pieces I genuinely recommend.
Wrapping It Up: Your Flooring Transition Should Work With You, Not Against You
A thoughtful flooring transition makes your home feel connected from the moment you walk in the door. Choose wisely, plan early, and you’ll thank yourself every time your floors flow from room to room feeling seamless, calm, and beautifully intentional.
Flooring transitions are small, but their impact is big. Get this part right, and each element above it (like your cabinets, your tile, and your paint) will work better too.
FREE Resource: Because No One Wants a Kitchen Renovation Surprise
Before you commit to flooring, tile, or that dreamy island, make sure your cabinets are not the weak link hiding underneath the pretty stuff.
🧑🎄 Grab my FREE guide→ Kitchen Renovation on a Budget: Top 7 Mistakes to Avoid When Choosing Kitchen Cabinets
This quick, practical guide helps you dodge:
cabinets that warp or sag under new flooring
poorly planned layouts that cost you storage
mismatched finishes that you’ll notice every single day
surprise fees that push your budget past its limit
A calmer renovation starts with better information. Consider this your reno head start!