
4 Renovating Tips Interior Designers Wish You Knew (Before You Spent a Dime)
Here's what happens at many of my client meetings: someone shows me a beautifully styled photo from Instagram or Pinterest and says, "I want this." And I get it. The photo is gorgeous. The space is dreamy. But then I have to gently explain why that stunning feature they're picturing won't actually work in their home, or their climate, or their budget, or their real life.
It's not that the inspiration is bad. It's that there are renovating tips and things designers know (from years of trial, error, and late-night texts from panicked clients) that just don't make it into those perfectly curated photos.
So before you commit to bi fold glass doors or fall in love with a dreamy cast stone fireplace, let me save you some time, money, and regret. Here are four renovating tips I wish every homeowner knew before they started their project.
Renovating Tips #1: Those Bi Fold Glass Doors Look Amazing, But You'll Barely Use Them
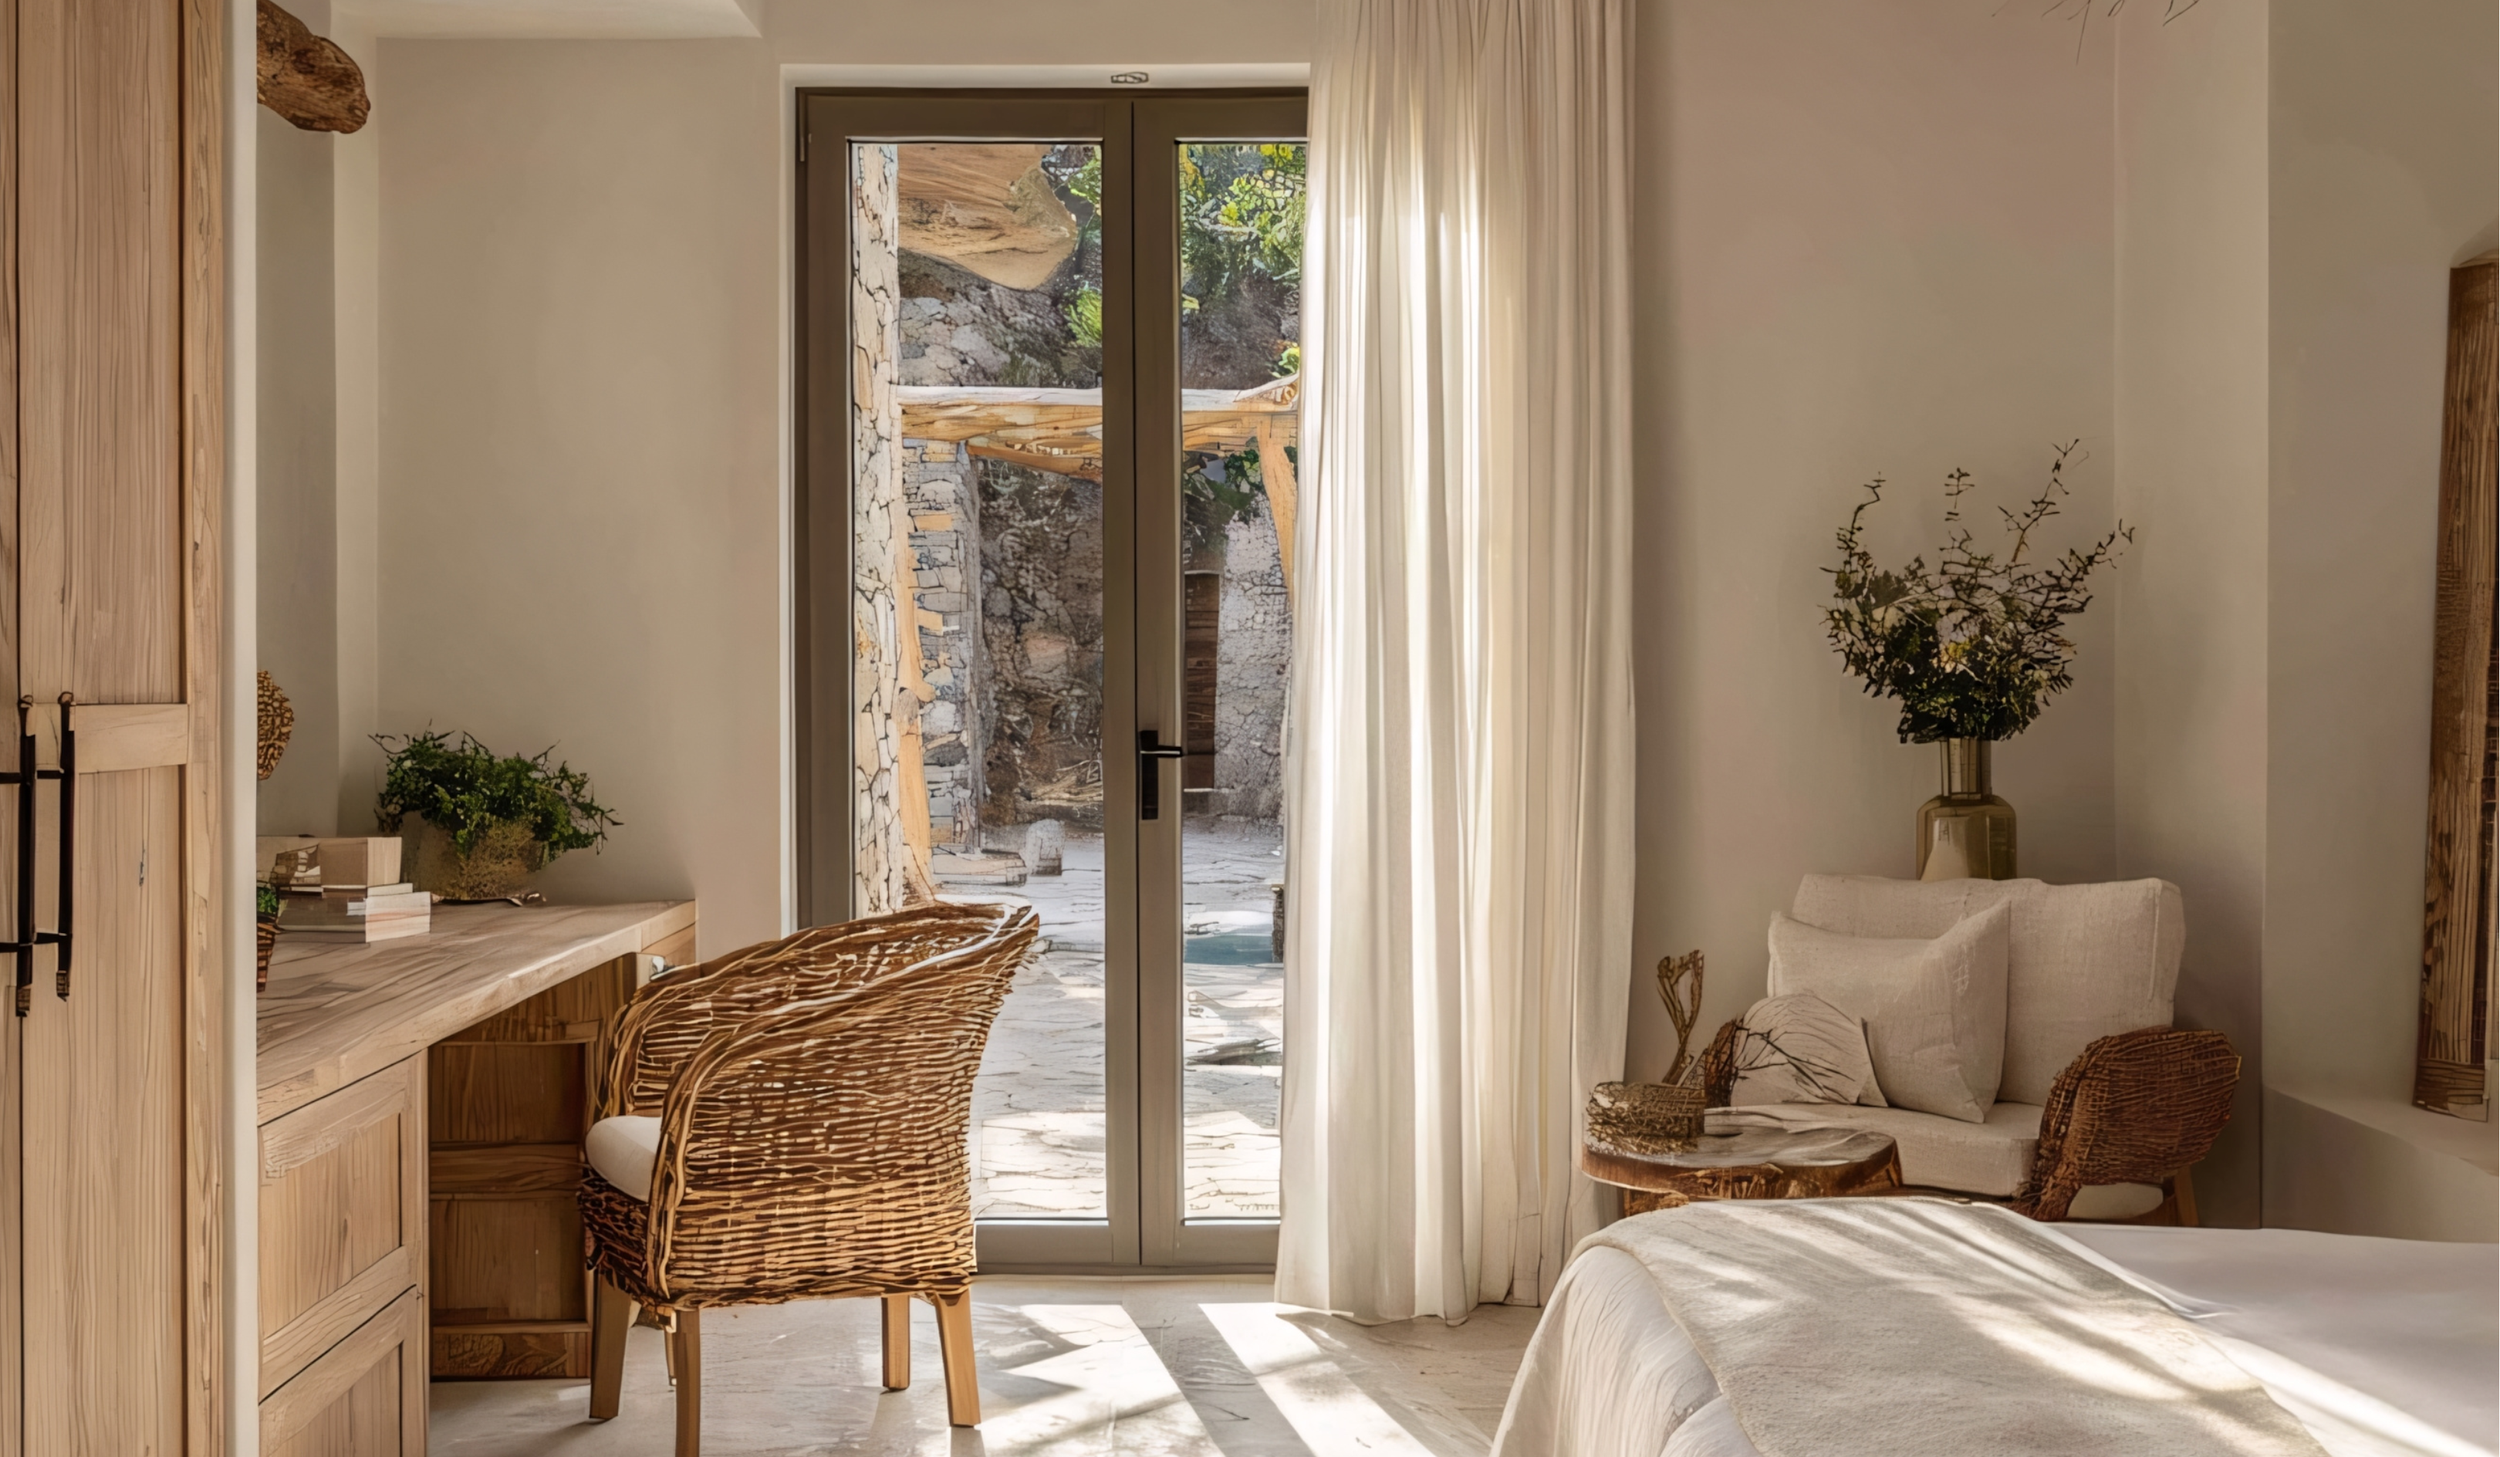
You know the ones I'm talking about. The massive, floor-to-ceiling bi fold glass doors that open an entire wall of the house to the backyard. They're all over Selling Sunset, Architectural Digest, and every luxury home tour on YouTube.
And listen, they're stunning. When they're open, they create this seamless indoor-outdoor flow that feels like vacation every single day.
But here's what no one mentions: most people install bi fold glass doors and then use them maybe a dozen times a year. Why? Because they almost never include screens.
The Screen Problem
Without screens, opening those doors means inviting in every bug, mosquito, and flying creature within a two-mile radius. In most climates, that makes them functionally useless from May through September (aka the exact months you'd actually want them open).
You can add retractable screens, but that's another $3,000 to $8,000 on top of the already hefty price tag for the doors themselves (which can easily run $10,000 to $30,000+ depending on size and quality).
DESIGN TIP:
If you're set on bi fold glass doors, at least get a few quotes that include retractable screens from the start. Don't treat screens as an afterthought, or you'll end up with beautiful doors you never actually open.
Renovating Tips #2: That Fireplace You're Obsessed With? It's a Cast Stone Fireplace
I can't tell you how many times a client has shown me a Pinterest photo of a beautiful, textured fireplace and said, "I want this, but I don't know what it is."
It's cast stone. And now that you know what to call it, your life just got a lot easier.
What Is a Cast Stone Fireplace?
Cast stone is a blend of cement, aggregates, and pigments that's molded to look like natural stone. It's not real stone, but it has the texture, depth, and architectural presence of hand-carved limestone or sandstone. It photographs beautifully, ages gracefully, and feels timeless in a way that smooth drywall or painted brick just can't replicate.
Cast stone is more affordable than natural stone but more expensive than tile or drywall. Expect to pay anywhere from $2,000 to $10,000+, depending on the size, intricacy, and whether it's prefabricated or custom.
Why Knowing the Name Matters
When you can walk into a meeting with your contractor or stone supplier and say, "I'm looking for a cast stone fireplace surround," you sound informed. You get better quotes. You avoid the back-and-forth confusion. And you're way more likely to end up with the look you actually want.
DESIGN TIP:
If a full cast stone fireplace is out of budget, consider using it just for the mantel or a small accent piece, and pair it with painted brick or textured tile for the rest of the surround.
📖 RELATED: If you're planning other big material decisions, check out Range Hood Styles Beyond Plaster: 5 Stunning Options for a Kitchen That Feels Like You. It's full of ideas for creating focal points that feel custom and intentional.
Renovating Tips #3: Your "Calm" Space Needs Contrast, Not Just Beige
This is one of the biggest misconceptions I see, especially when homeowners are afraid of color. They think "calm and serene" means "everything the same soft neutral." So they paint the walls beige, choose beige cabinets, pick beige counters, add beige tile, and then wonder why their kitchen feels flat instead of peaceful.
Here's the truth: calm spaces need contrast.
When everything in a room is the same tone, there's no visual anchor. Your eye doesn't know where to land. But when you introduce contrast (light + dark tones working together), suddenly the space has depth, feels intentional, and ironically, feels more calm.
How to Add Contrast Without Adding Chaos
You don't need bold color to create contrast. You just need variation in tone:
Dark lower cabinets + light upper cabinets: This is a classic move in kitchen renovation on a budget projects because it adds drama without requiring expensive materials.
Light cabinetry + dark countertops: A soft white or cream cabinet paired with a deep gray or black quartz creates instant sophistication.
Black hardware on white cabinets: Small detail, big impact. Matte black pulls and knobs ground an all-white kitchen and give it edge.
Soft paint + black window frames: Black windows create structure and make soft wall colors feel purposeful instead of wishy-washy.
DESIGN TIP:
Start small. If you're nervous about contrast, add it in places you can easily change: hardware, light fixtures, rugs, or accessories. Once you see how much it elevates the space, you'll feel more confident going bigger.
💡 RENO RESOURCE: If you're working on color decisions, grab my Paint Playbooks. They're full of tried-and-true color combos (including light + dark pairings) that take the guesswork out of creating a calm, balanced space.
Renovating Tips #4: Want to Elevate a Tub/Shower Combo? Use an Undermount Bathtub
Most homeowners don't even know this option exists, but it's one of the simplest ways to make a standard tub/shower combo look custom and high-end.
An undermount bathtub sits below the tile deck instead of on top of the floor. Instead of seeing the tub's exposed apron (that standard white or almond front panel), you tile over the front, creating a seamless, built-in look.
Why It Looks More Expensive
When you tile the front of an undermount bathtub, the whole surround feels cohesive. The tile runs from floor to ceiling without interruption, which creates a clean, intentional, almost spa-like vibe. It's the kind of detail that makes people assume your bathroom costs way more than it did.
Standard drop-in tubs are the most common (and least expensive). They sit on the floor with an exposed front panel. They're functional, but they don't feel custom. Undermount bathtubs require a little more upfront planning and a deck structure to support them, but the finished look is worth it. Cost difference? Usually just a few hundred dollars more in labor and materials.
DESIGN TIP:
If you're doing an undermount bathtub, invest in good waterproofing. This isn't the place to cut corners. A properly sealed tile surround will last decades, but a poorly installed one can lead to water damage and costly repairs.
📖 RELATED: If you're renovating a bathroom, don't miss Tile Installation Cost: 5 Surprising Factors That Can Make or Break Your Budget. It covers the hidden costs (like grout, trim, and specialty layouts) that most people don't plan for.
Shop the Details That Actually Elevate Your Space
The difference between "nice enough" and "wow, who designed this?" often comes down to the small choices. Here are some of my go-to materials and finishes that bring warmth, contrast, and that custom-but-not-trying-too-hard vibe to any renovation.

Sherwin-Williams Classic Light Buff Peel & Stick Paint Samples
A soft, warm neutral that works everywhere from cabinets to ceilings. This is the color I reach for when clients want "calm" but don't want their space to feel washed out. The peel-and-stick format means you can test it without the mess.

Sherwin-Williams Alabaster Peel & Stick Paint Samples
The white that's not too stark, not too creamy, just right. Alabaster is my go-to for trim, cabinets, and walls when I need a clean backdrop that doesn't feel cold. Test it first (seriously, lighting changes everything).

Farrow & Ball Green Ground Peel & Stick Paint Samples
A pale, refreshing green that feels calming without being mint-toothpaste vibes. Perfect for kitchens or bathrooms where you want color that doesn't overwhelm. Pair it with white trim and watch the whole space come alive.
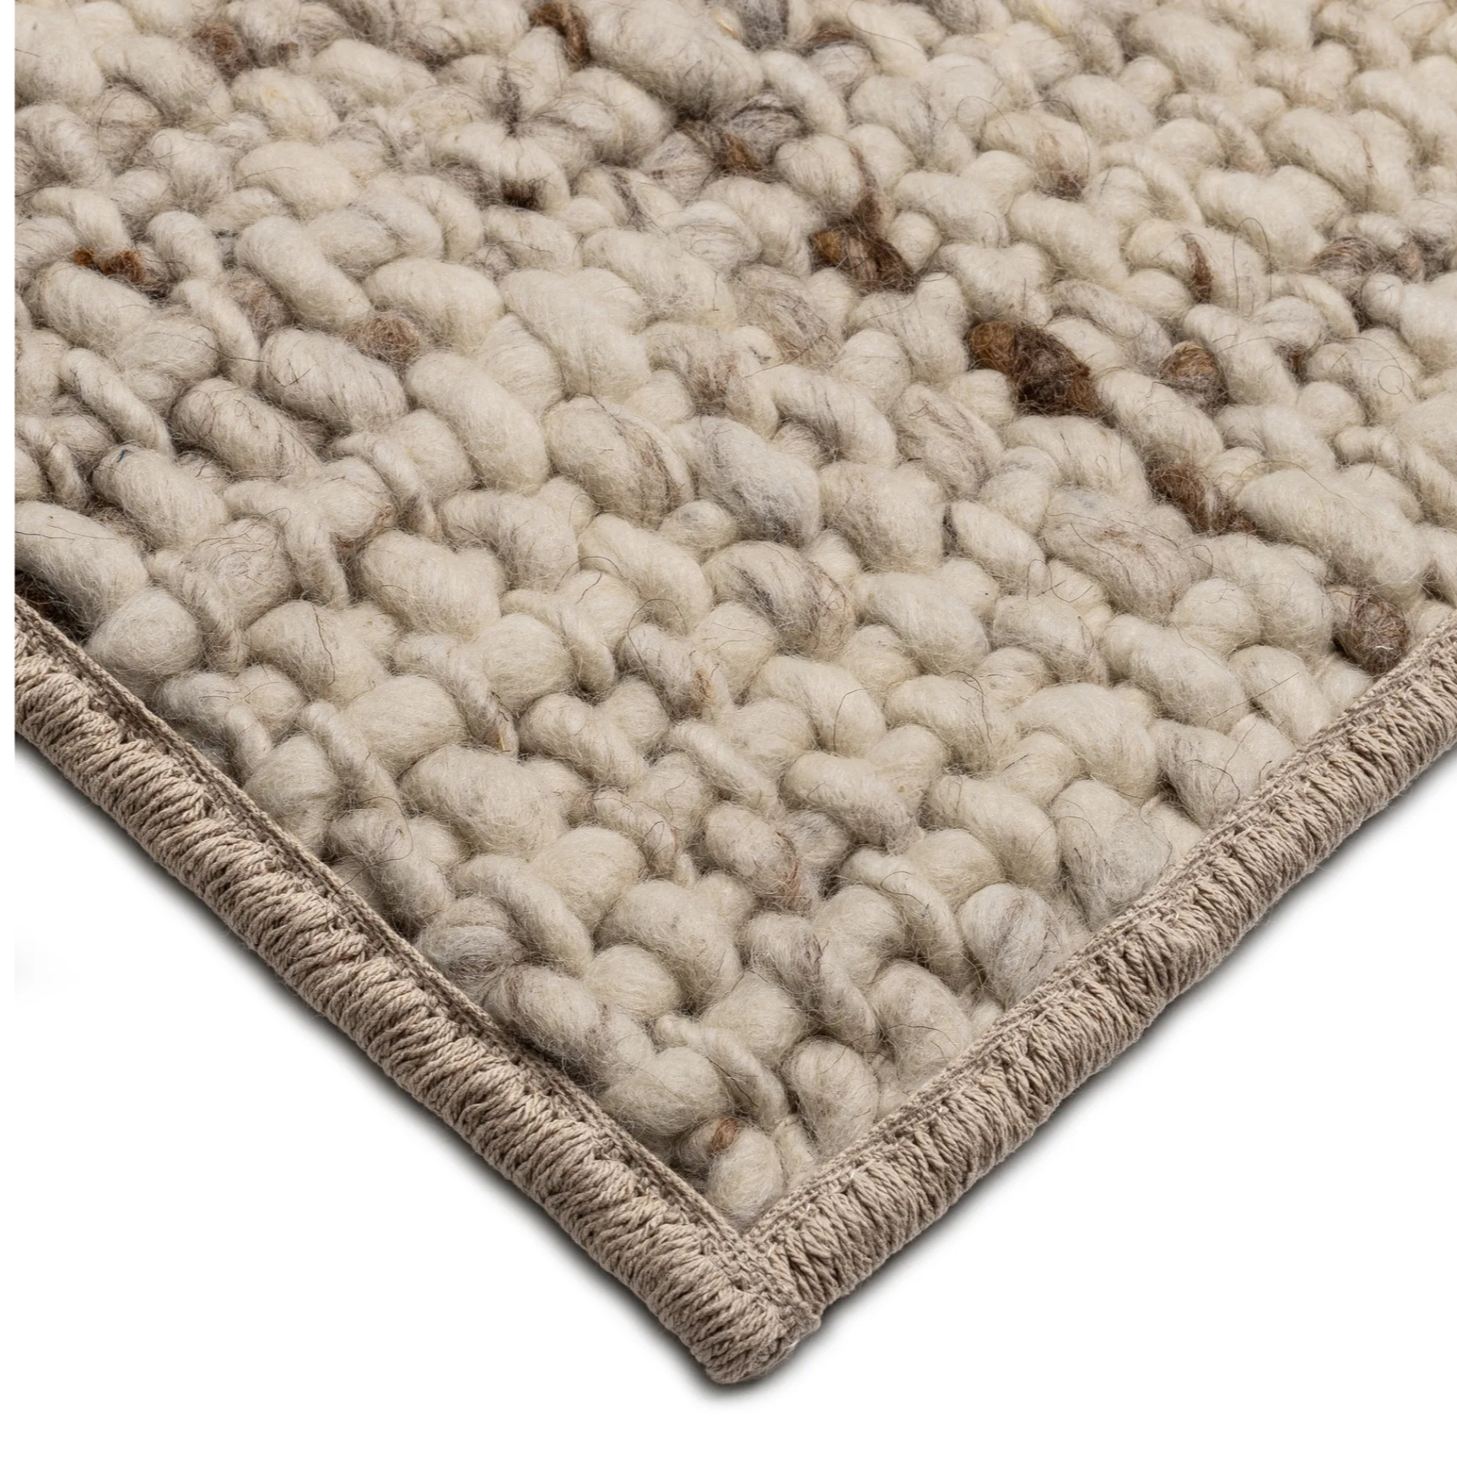
Home Carpet One Ashford Area Rug
Chunky, hand-loomed wool that feels as good as it looks. The camel tone adds warmth without competing, and it's durable enough for high-traffic areas. This is the rug I’d recommend if clients want texture that actually lasts.
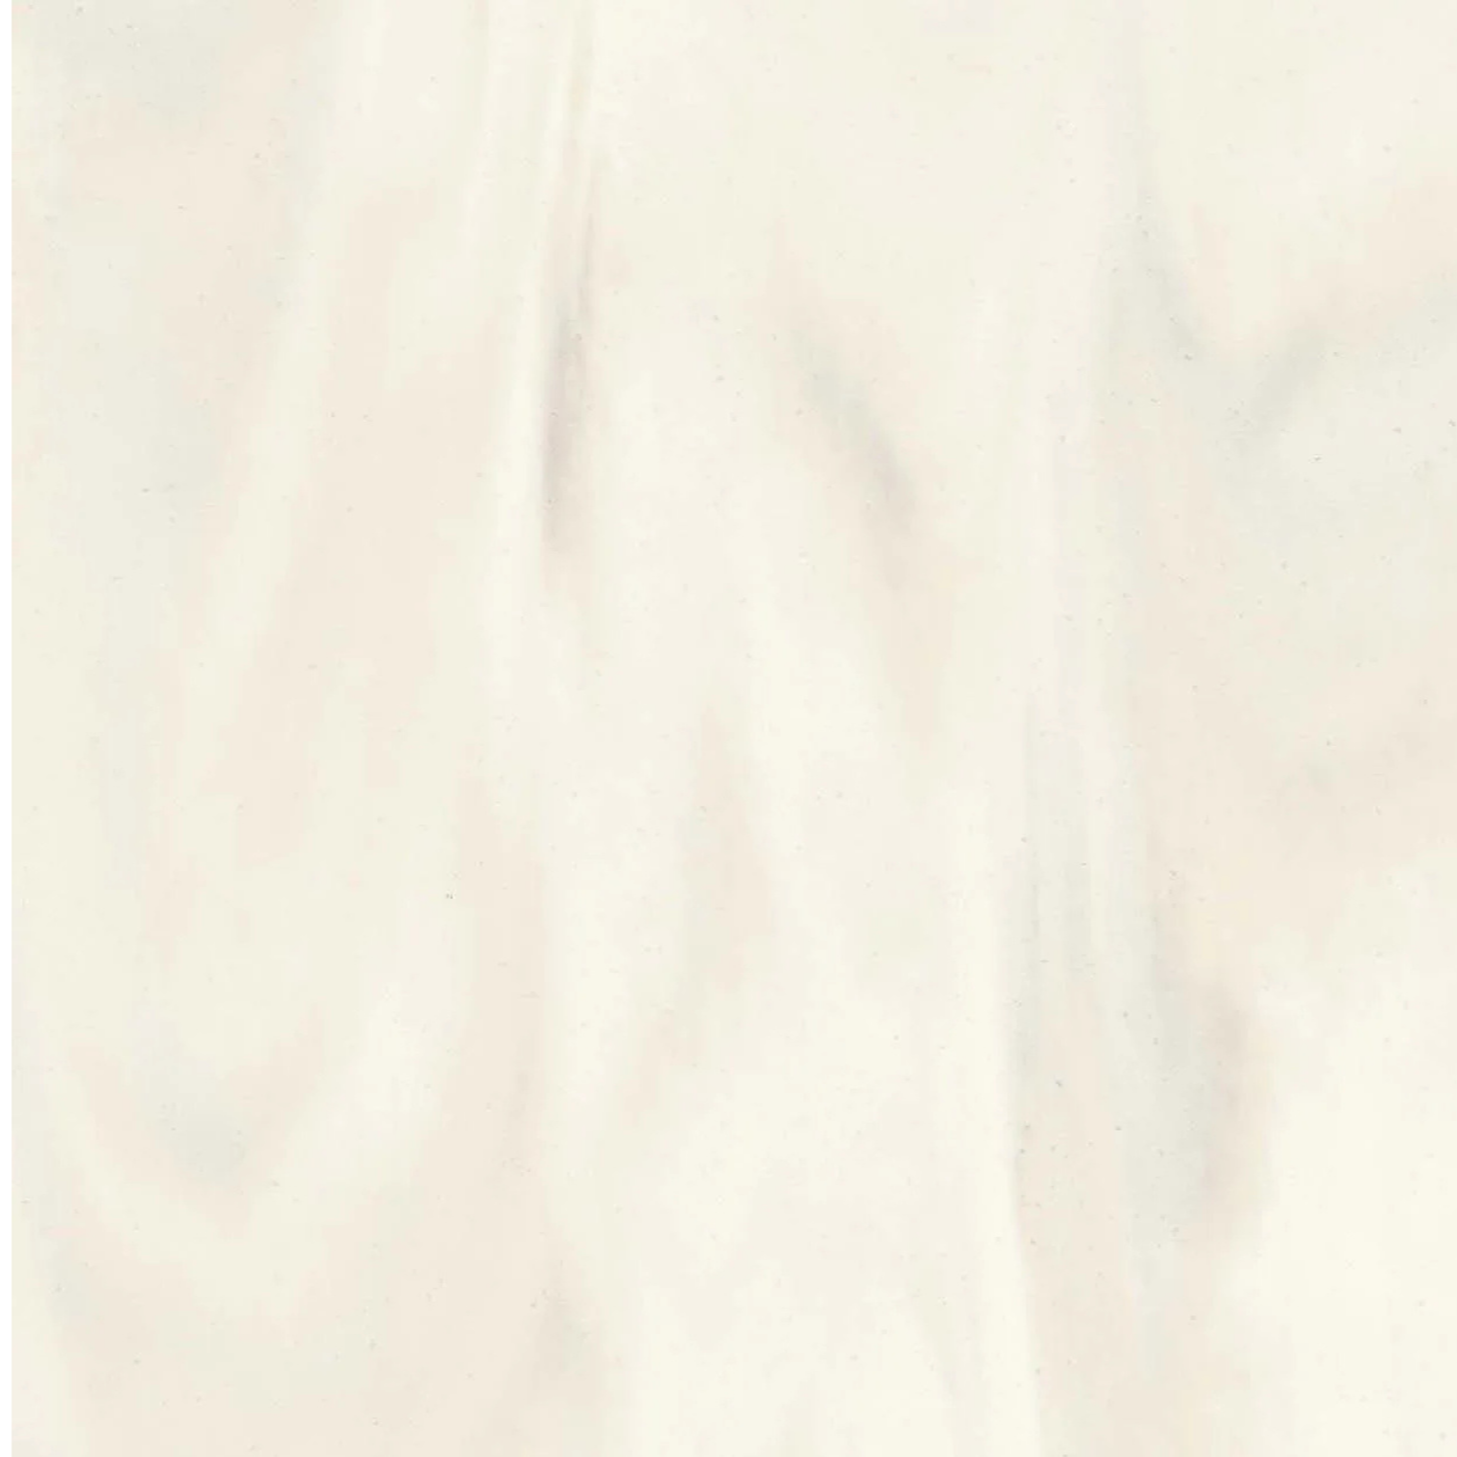
Wilsonart Golden Sail Countertop
A white solid surface with subtle warm grey movement and sparkle. If you need a budget-friendly countertop that doesn't scream "laminate," this is it. It's durable, virtually seamless, and way more elevated than builder-grade options.

Farrow & Ball Wine Dark Peel & Stick Paint Sample
The richest, most sophisticated blue. In low light, it becomes even more dramatic, making it perfect for intimate spaces like dining rooms or powder baths. Test it in your space before committing (this one transforms with lighting).
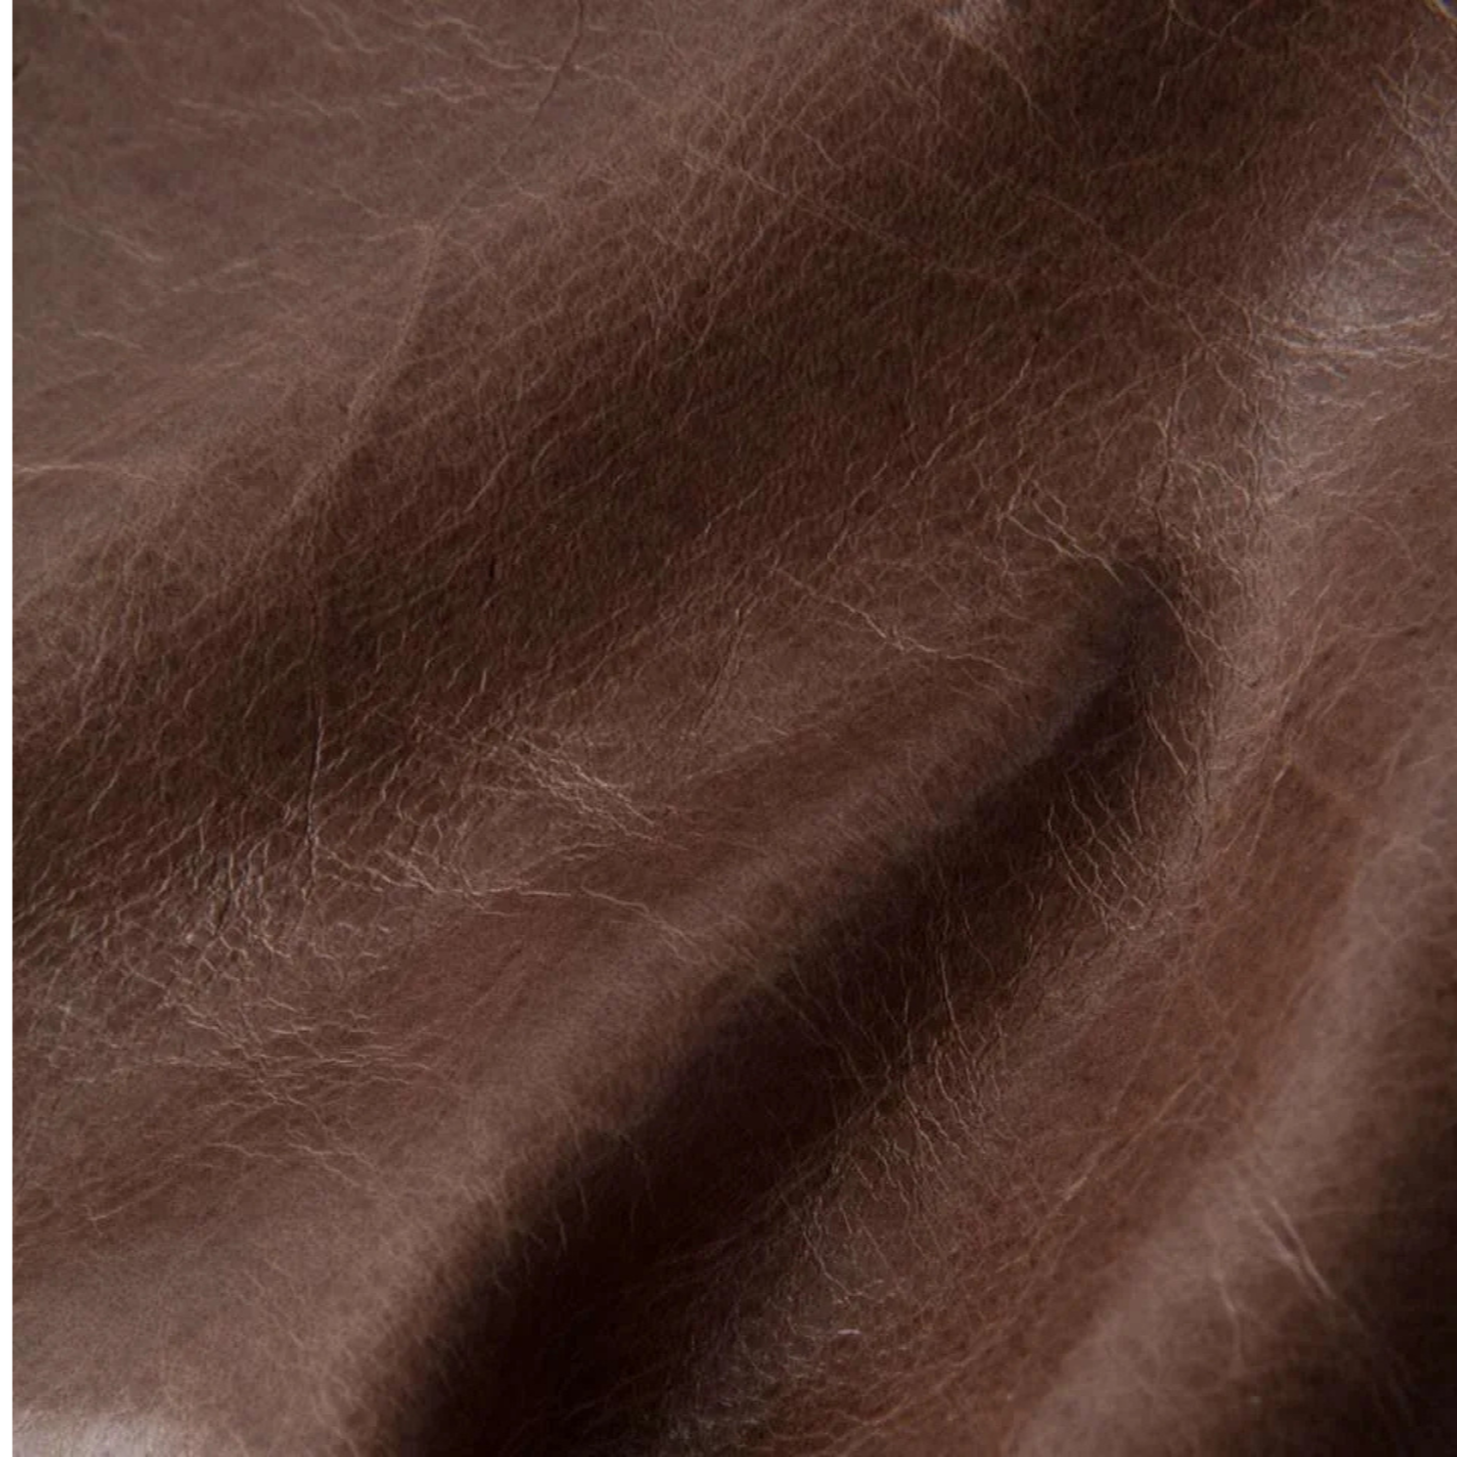
Moore & Giles Mont Blanc Fabric (Dove)
Full-grain Italian leather that's soft, drapey, and rich with character. The dove color is a warm neutral that pairs beautifully with wood tones and brass. This is upholstery that ages gracefully instead of falling apart.
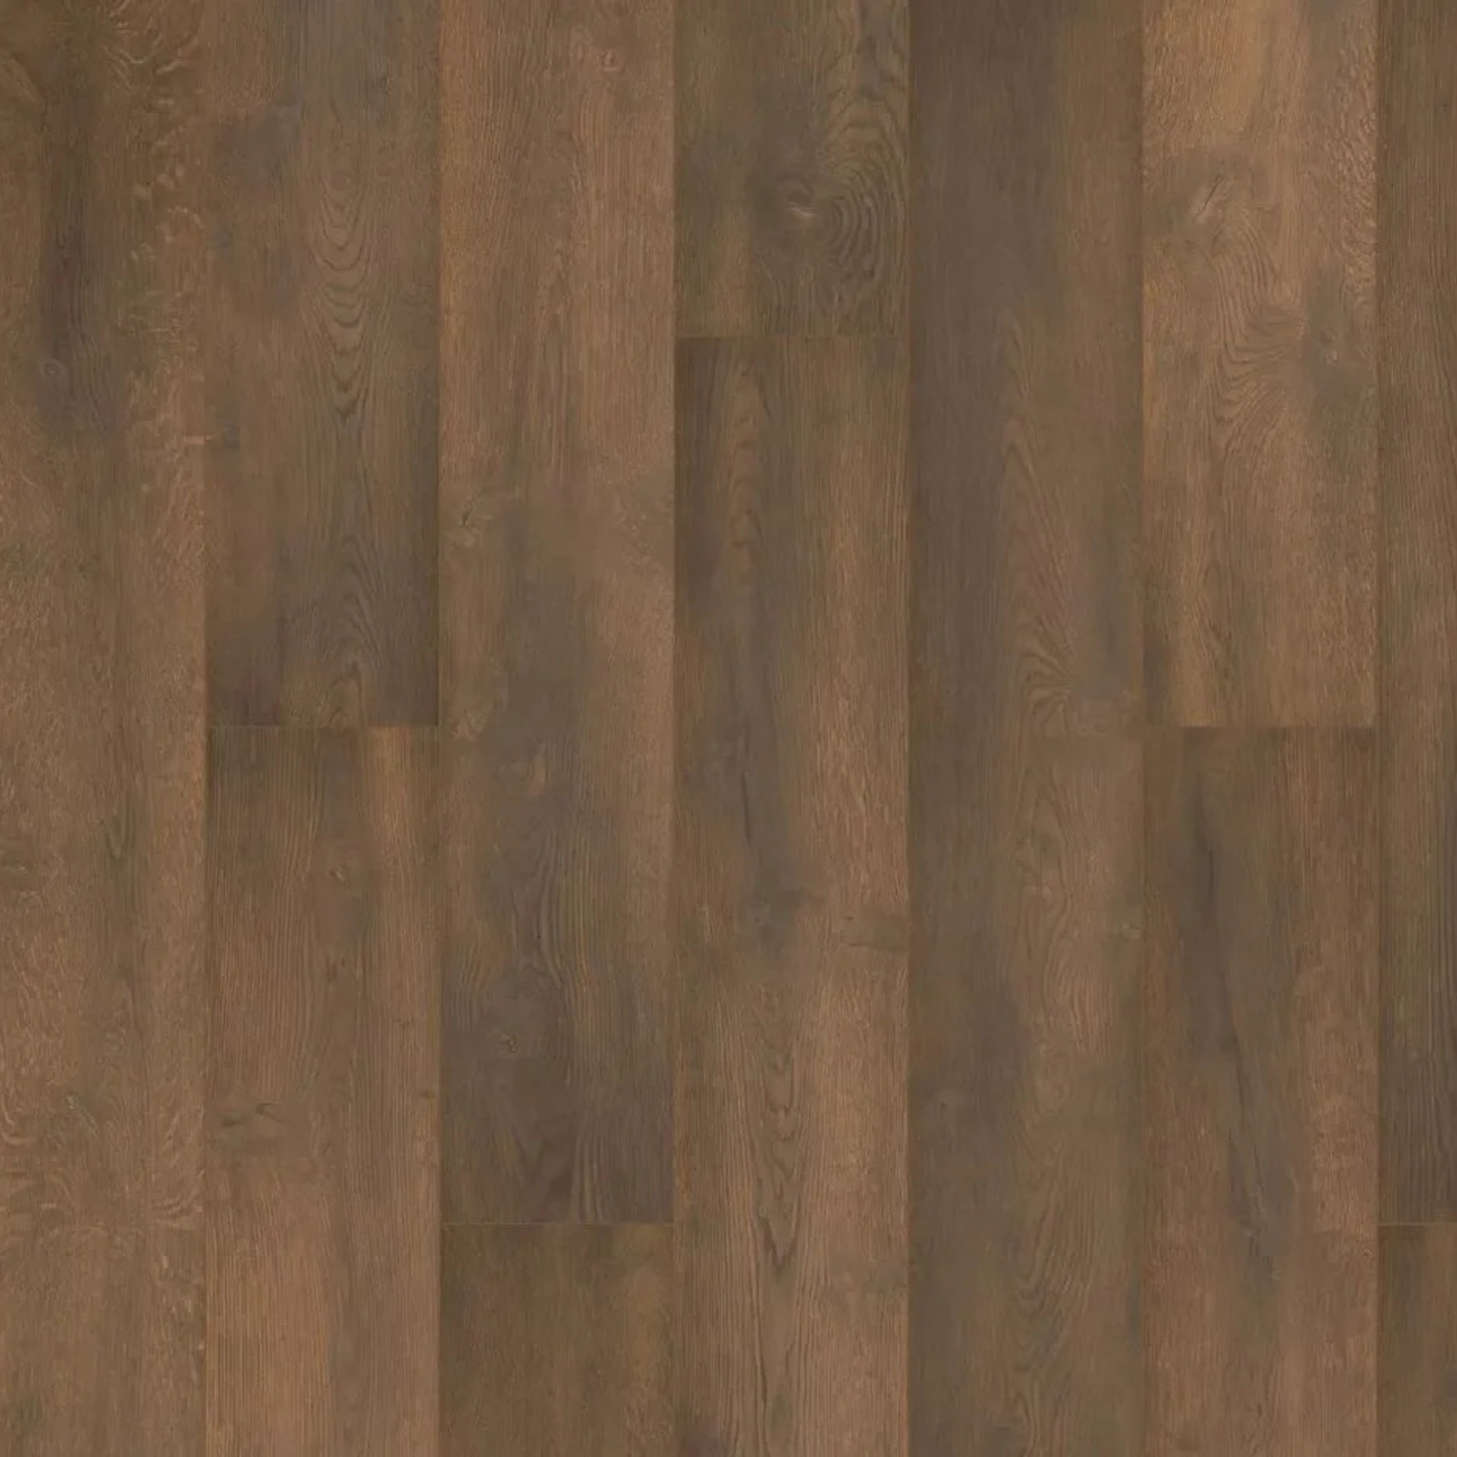
Karastan Chateau Leon Flooring (Calvary Brown Oak)
Waterproof laminate that looks like real wood. The brown oak finish brings warmth and texture without the maintenance of hardwood. Backed by a lifetime warranty, so you can actually live on it.

Fireclay Tile Calcite Gloss Tile (White Wash)
A classic 4-inch triangle tile with a glossy finish and subtle variation. Handmade in the USA, this tile brings texture and charm without being fussy. Perfect for backsplashes or shower walls that need a timeless look.
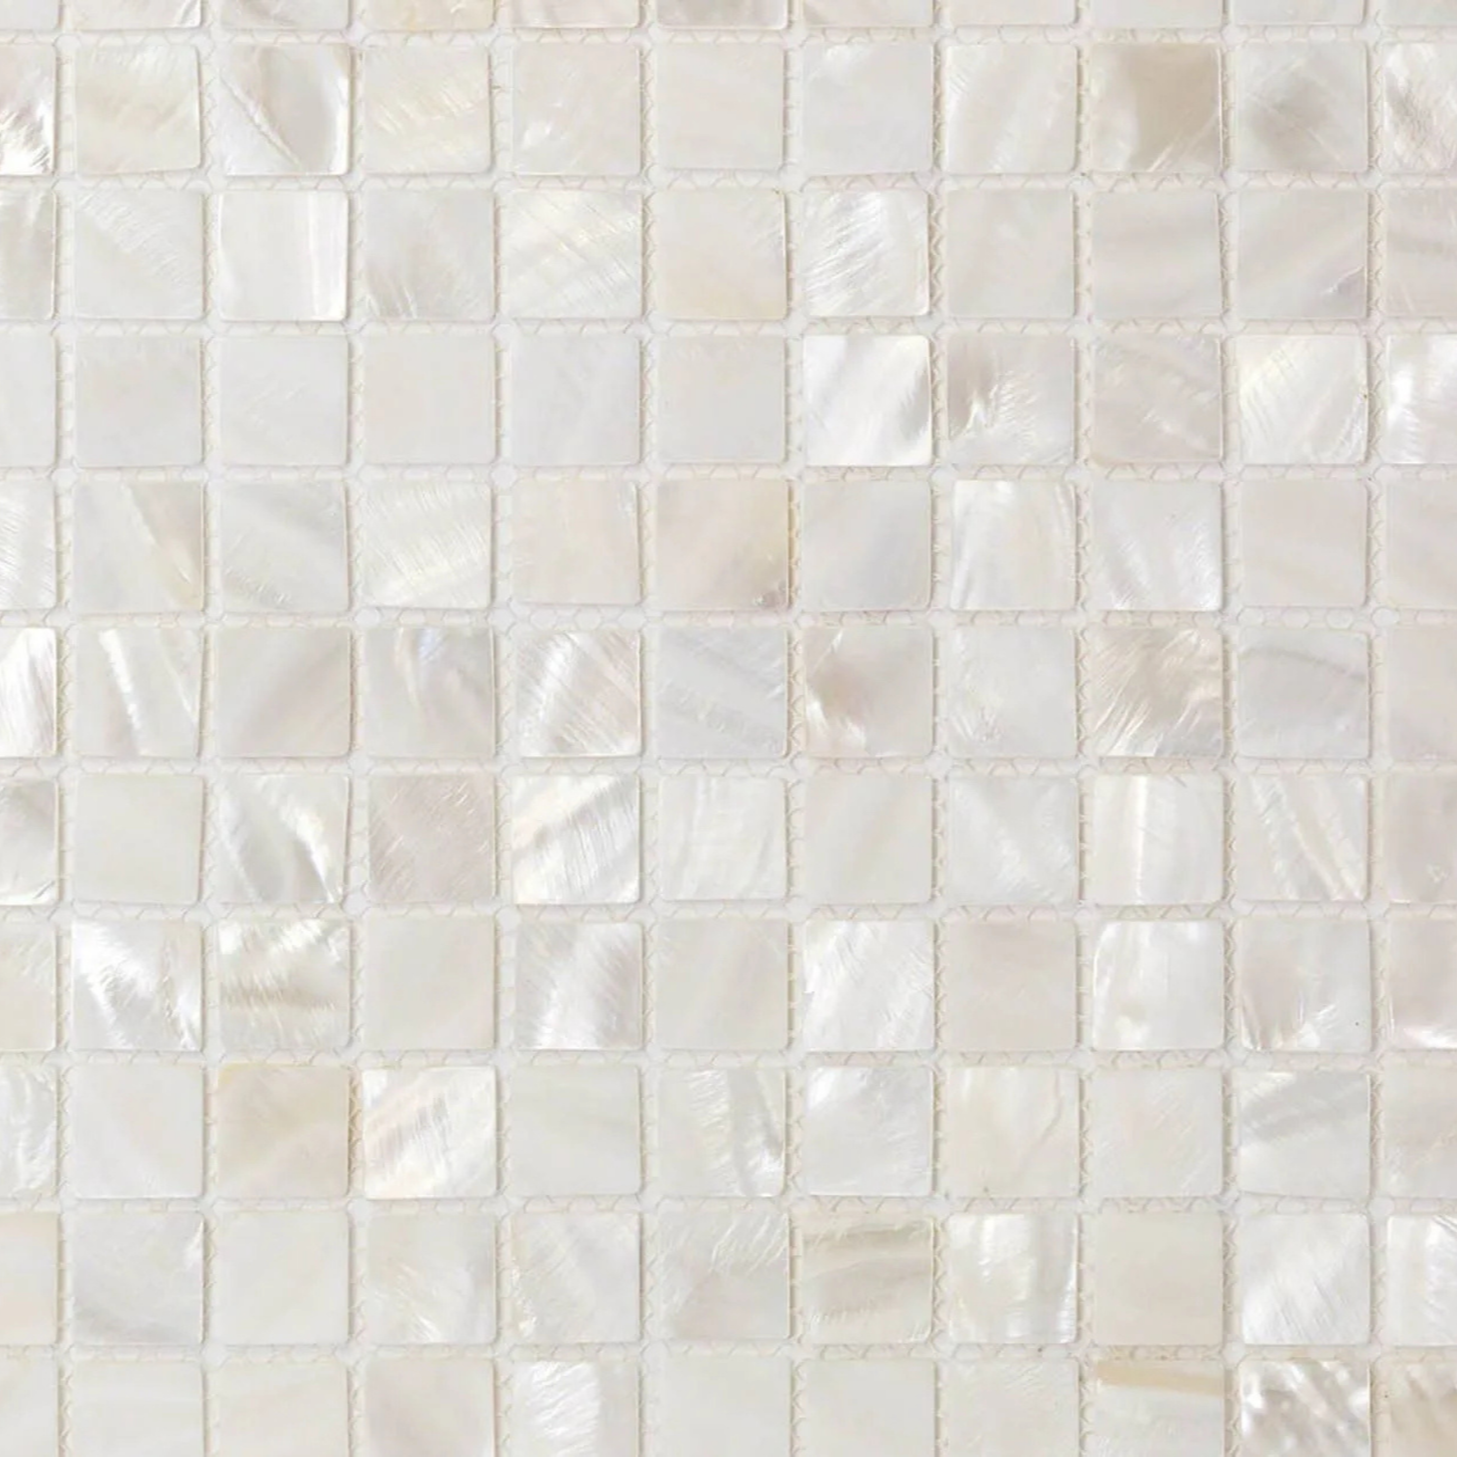
TileBar Mother Of Pearl Oyster White Tile
This 3D square pattern is pure texture magic. The pearl shell catches light beautifully and adds a sleek, contemporary feel. No grout required, and it's mesh-mounted for easier installation. (Just don't use it in wet areas like shower floors.)
Full transparency: these are affiliate links, which means I may earn a small commission if you decide to purchase. I only share products I genuinely recommend and would use in my own home.
Wrapping It Up: Renovating Tips That Save You Time, Money, and Regret
At the end of the day, the best renovations aren't the ones that look like Pinterest. They're the ones that work for your life, your budget, and your space.
Bi fold glass doors are beautiful, but only if you'll actually use them.
A cast stone fireplace is stunning, but only if you know what to call it when you're sourcing it.
Contrast is the secret to a calm space, not more beige.
An undermount bathtub elevates a standard tub/shower combo without blowing your budget.
The more you know going into a renovation, the fewer surprises you'll face (and the fewer late-night panic texts you'll send your contractor). So take these renovating tips, do your homework, and make choices that feel right for you, not just for the algorithm.
Your Next Step: Don't Let Cabinet Mistakes Derail Your Kitchen Renovation on a Budget
Speaking of things I wish clients knew… cabinets are the single biggest investment in most kitchen renovations, and they're also where I see the most regret. Drawers that collide, finishes that don't match the inspiration photo, layouts that make cooking harder instead of easier.
Before you finalize your cabinet order, grab my free guide:
✨ Grab my FREE guide here→ Kitchen Renovation on a Budget: Top 7 Mistakes to Avoid When Choosing Kitchen Cabinets
It's packed with the questions to ask, the details to double-check, and the traps to avoid so you can make confident cabinet decisions without blowing your budget or regretting your choices six months in.