
How to Clean Kitchen Cabinets (And Keep Them Looking New for 20+ Years)
Because spending $30,000 on cabinets and then destroying them with the wrong cleaner is not the move
You just finished your kitchen renovation. The cabinets are gorgeous. Everything feels fresh and new. And then three months later, you notice fingerprints around the handles, a grease film near the stove, and some mysterious smudge you can't quite identify on the cabinet next to the coffee maker.
So you grab whatever spray cleaner is under the sink and wipe everything down. Problem solved, right?
Not exactly.
Here's what most homeowners don't realize: the way you clean your cabinets matters just as much as the cabinets themselves. Use the wrong products or skip regular maintenance, and you'll slowly strip the finish, dull the color, and turn beautiful cabinetry into something that needs replacing in 10 years instead of lasting 20+.
Let me walk you through how to clean kitchen cabinets the right way, so your investment stays beautiful for decades (not just Instagram-worthy for the first six months).
The Three-Tier System for Cabinet Maintenance
Before we dive into how to clean kitchen cabinets, let's talk strategy. Cabinet care isn't just about wiping things down once a week. It's a three-tier approach:
Start with your manufacturer's recommendations (this protects your warranty and your finish)
Build a simple daily/weekly cleaning routine (prevents buildup and damage)
Schedule annual professional touch-ups (fixes small issues before they become expensive problems)
Most people skip all three of these. Then they wonder why their cabinets look worn out after five years.
Let's break down each tier so you know exactly what to do.
Tier 1: Ask Your Cabinet Manufacturer What They Recommend
This is the step everyone skips, and it's the most important one.
Different cabinet finishes require different care. What works beautifully on painted cabinets might damage natural wood. What's safe for factory-finished cabinets might void the warranty on site-finished ones. And if you use the wrong product and damage your finish, your manufacturer isn't going to cover it.
How to Find Your Cabinet Manufacturer
If you just finished a renovation, check your paperwork or ask your contractor. If you bought a house with existing cabinets, look for manufacturer stamps inside cabinet doors or drawers, check paperwork from previous owners, or post photos in online cabinet groups.
What to Ask Your Manufacturer
Once you know who made your cabinets, reach out (most have customer service lines or online contact forms) and ask:
What cleaning products do you recommend for this finish?
What products should I avoid? (This is just as important)
How often should I clean the cabinets?
Does using certain cleaners void my warranty?
What's the best way to address minor scratches or chips?
Some manufacturers even sell their own branded cleaners specifically formulated for their finishes. If they offer one, it's usually worth getting. It's designed to work with your exact cabinet finish, and using it keeps your warranty intact.
DESIGN TIP:
Save the manufacturer's care instructions somewhere you can find them. Take a photo and keep it in your phone, or print it and tape it inside a cabinet door. Future you will thank you 😉.
Tier 2: Build a Simple Daily and Weekly Cleaning Routine
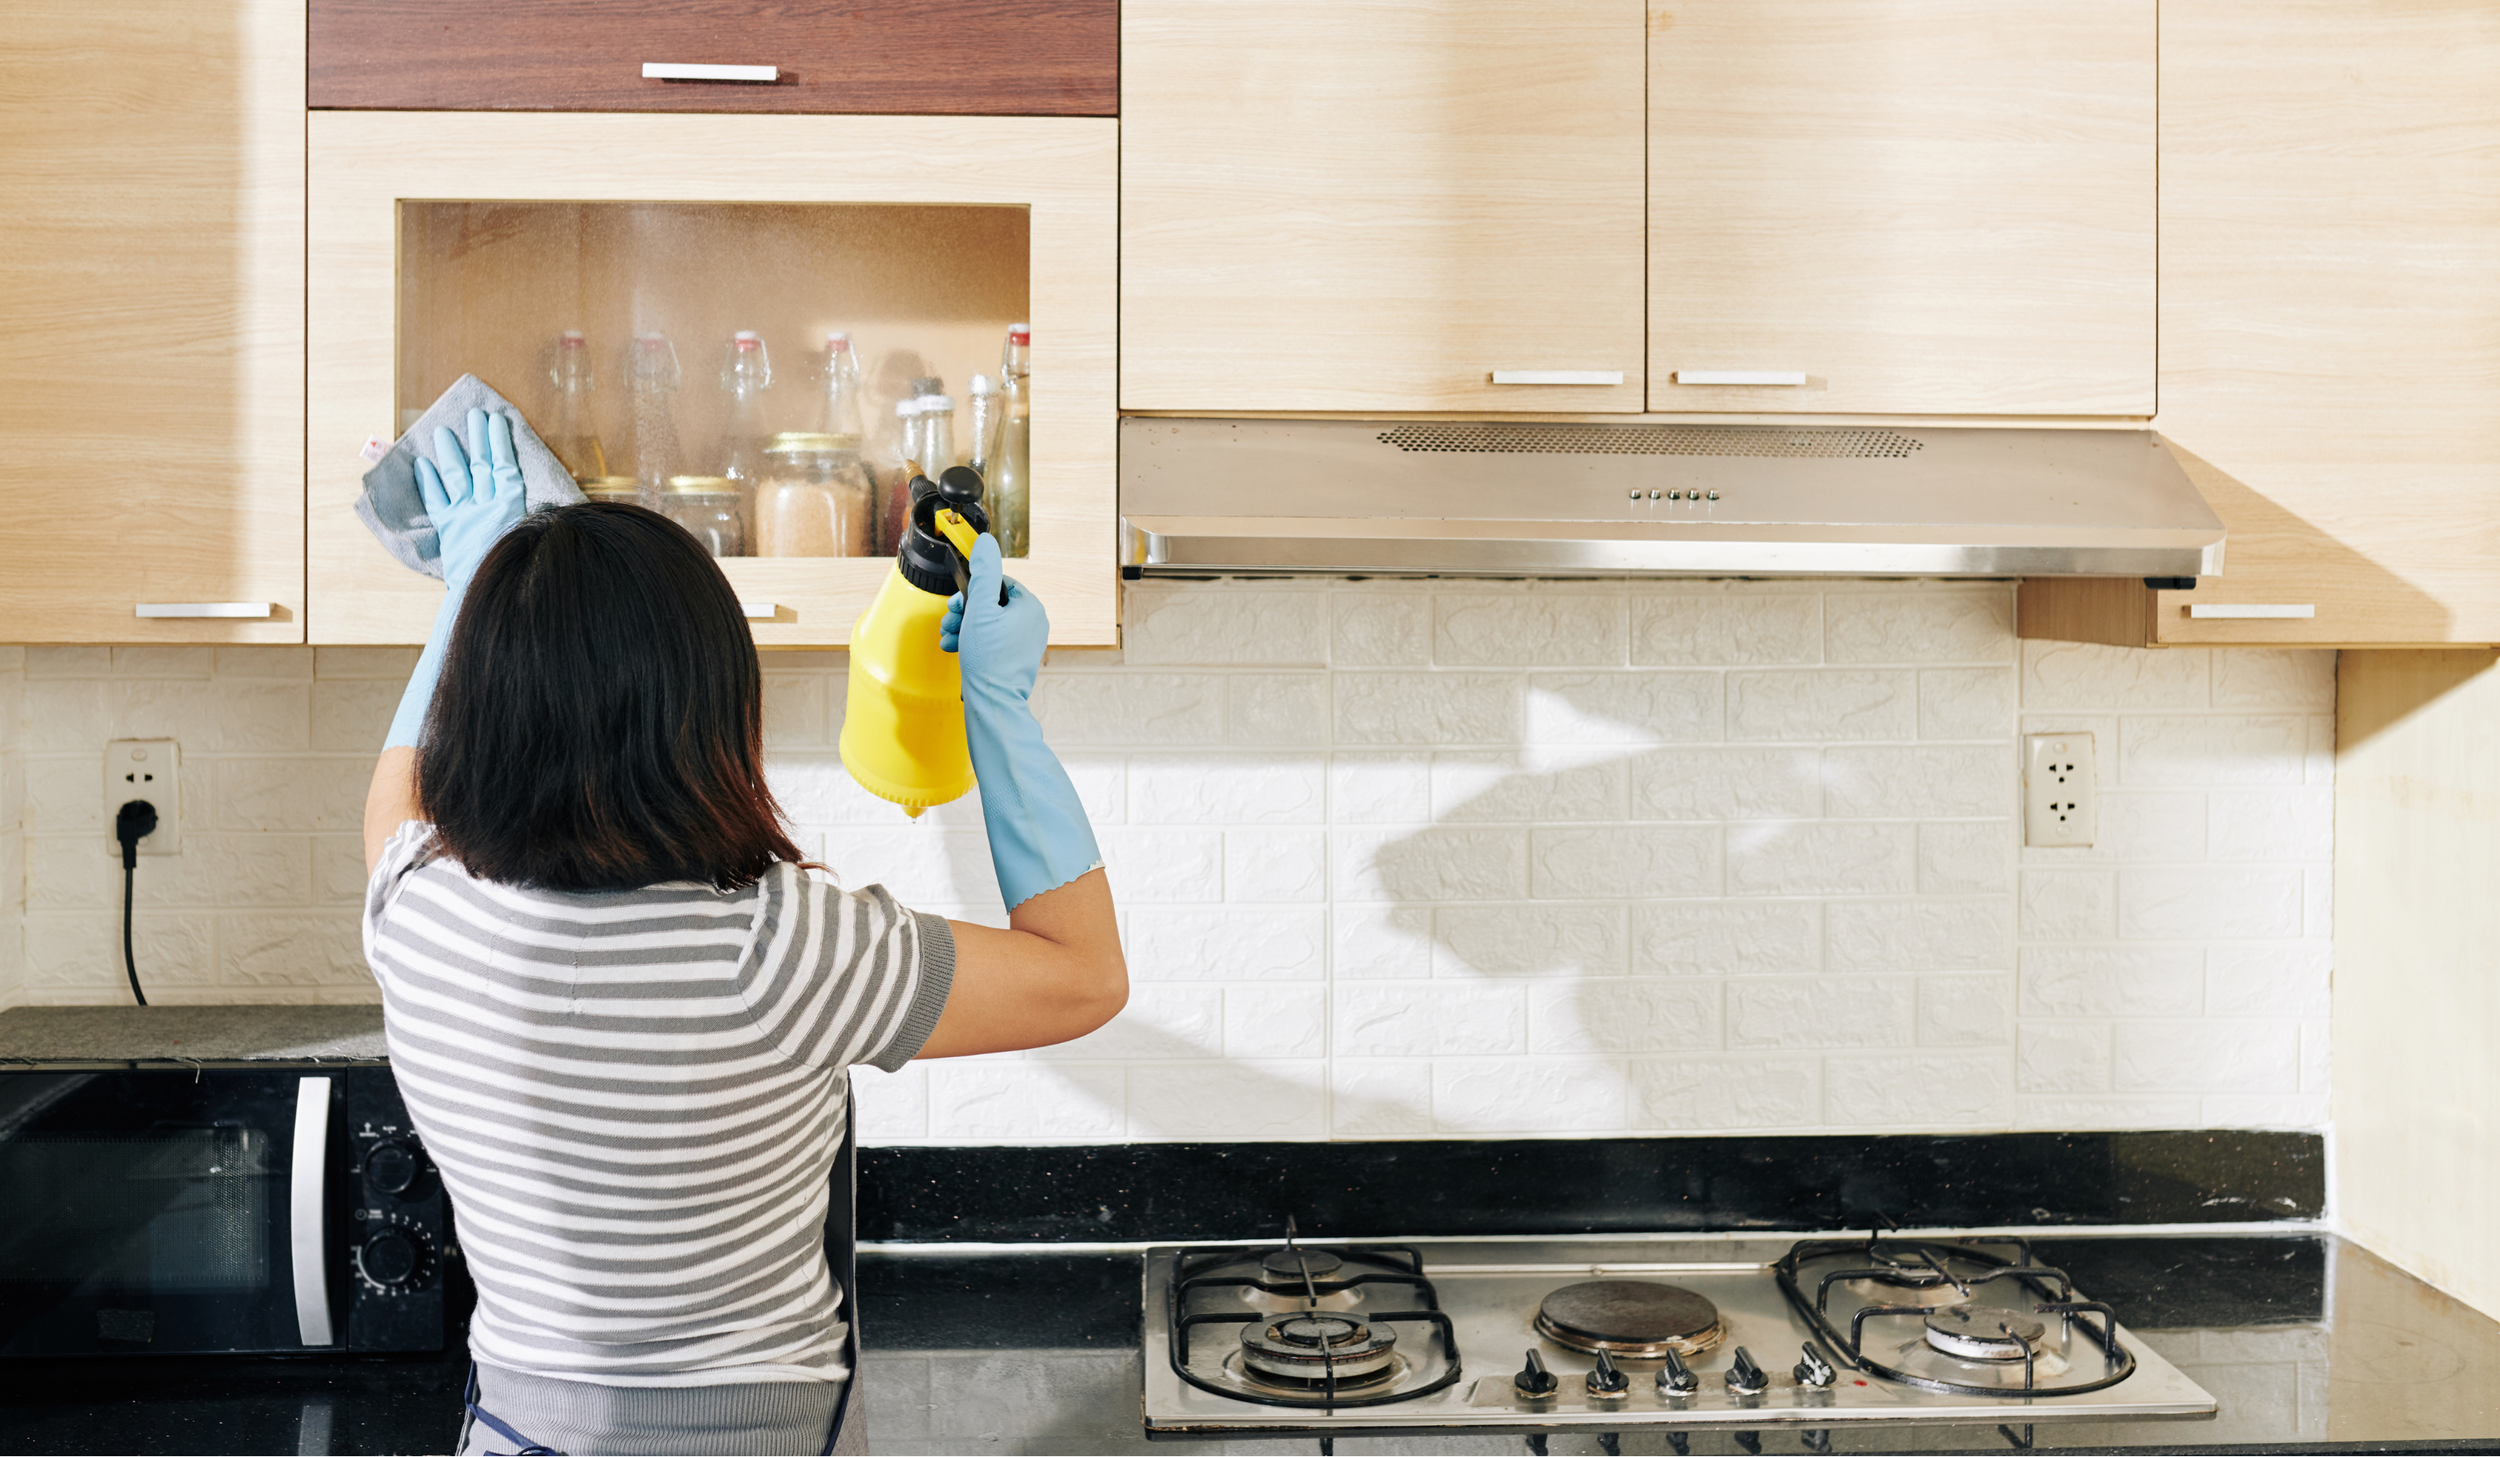
The devil is in the details, so let's talk about how to clean kitchen cabinets without accidentally ruining them.
The Right Way to Clean Kitchen Cabinets Daily
What you need:
A pH-neutral cabinet cleaner
Microfiber cloths (not paper towels, not sponges)
What you do:
Spray the cleaner onto your microfiber cloth (not directly on the cabinets)
Wipe down high-touch areas: drawer pulls, cabinet handles, doors near the stove
If you see grease or sticky spots, give them a little extra attention
Use a dry microfiber cloth to buff everything dry
Why spray onto the cloth instead of the cabinet? Because too much moisture sitting on cabinets (especially around seams and edges) can cause warping, swelling, and finish damage over time.
Weekly Deep Clean
Once a week, give all your cabinet exteriors a full wipe-down: upper cabinets, lower cabinets, and cabinet interiors if you have open shelving or glass-front cabinets.
Pro tip for grease buildup near the stove: If your cabinets next to the range feel sticky, don't scrub harder. Instead, spray a little extra cleaner on your cloth, let it sit on the greasy spot for 30 seconds, then wipe gently. The cleaner will break down the grease without you having to scrub.
What Cleaner to Use on Kitchen Cabinets
What to look for:
pH-neutral formula (won't strip finish)
No harsh chemicals (no ammonia, no bleach, no strong solvents)
Designed for wood or painted surfaces
What to avoid:
Windex or glass cleaners (too harsh)
Bleach-based products (strips protective coatings)
Magic Erasers (way too abrasive, they'll dull your finish)
Dish soap (leaves residue)
Vinegar (acidic and can damage finishes)
📖 RELATED: If you're also working on maintaining other parts of your kitchen, check out Kitchen Cabinet Renovation: 5 Must-Ask Questions for Your Cabinet Maker. It covers the details that affect long-term durability.
How to Clean Wood Cabinets (Without Damaging the Finish)
If you have natural wood or stained cabinets, there are a few extra things you should know about how to clean wood cabinets properly.
Always Wipe with the Grain
This isn't just for aesthetics. Wiping with the grain helps avoid micro-scratches that can dull the finish over time. If you're not sure which direction the grain runs, look closely at the wood pattern and follow the lines.
Use Minimal Moisture
Wood and water don't mix. Even sealed wood cabinets can be damaged by too much moisture. When you're cleaning, your cloth should be damp, not soaking wet. And always dry immediately with a clean, dry cloth.
Consider Wood Polish Occasionally
Every few months (not every week), you can use a wood polish or conditioner to keep natural wood looking rich and nourished. This isn't necessary for painted or heavily sealed cabinets, but it's a nice touch for natural wood finishes.
What Causes Damage to Wood Cabinets
The enemies of wood cabinets are:
Too much moisture (warping, swelling, finish damage)
Direct sunlight (fading and drying out)
Heat (from stove, dishwasher, or heating vents)
Harsh chemicals (stripping protective finish)
You can't control all of these, but being aware helps. If your cabinets are near a window, consider UV-protective film. If they're next to the stove, wipe up grease immediately instead of letting it bake on.
DESIGN TIP:
Natural wood cabinets develop patina over time, and that's part of their charm. A few minor dings or slight color variations aren't flaws, they're proof that your kitchen is actually lived in.
How to Clean Painted Cabinets (Without Ruining the Paint)
Painted cabinets are stunning, but they require a gentler touch than you might think. Here's how to clean painted cabinets without chipping, dulling, or discoloring the finish.
Be Extra Gentle with Matte and Satin Finishes
If your painted cabinets have a matte or satin finish (as opposed to high-gloss), they're more prone to showing wear. Don't scrub. Don't use abrasive sponges. Just spray your cleaner on a soft microfiber cloth and wipe gently.
Address Stains Immediately
Painted cabinets can stain more easily than wood, especially if the paint is light-colored. Coffee drips, red wine splashes, and grease splatters should all be wiped up as soon as you notice them. The longer they sit, the harder they are to remove.
Never Use Abrasive Cleaners
This includes Magic Erasers, scouring pads, or anything with grit. These will remove the top layer of paint and leave dull spots that are nearly impossible to fix without repainting.
Watch for Chips and Touch Them Up Quickly
Painted cabinets are more prone to chipping than stained wood, especially around handles and high-traffic areas. When you notice a chip, don't ignore it. Touch it up before it gets bigger.
You can buy small touch-up paint pens or bottles that match your cabinet color. If you don't have the exact color, your cabinet touch-up specialist (more on that in a minute) can color-match and fix it for you.
DESIGN TIP:
If you have white or light-colored painted cabinets, keep a small bottle of touch-up paint on hand. It's way easier to fix a tiny chip yourself than to call someone in for a repair.
📖 RELATED: For more on choosing durable cabinet finishes, check out Kitchen Cabinet Finish Tips from a Designer: Why I Use Factory-Finished in Every Project. Factory finishes hold up better than site-applied paint every single time.
Tier 3: Schedule Annual Cabinet Touch-Up Visits
By the time you notice cabinet damage, it's already gotten bigger than it should have. Small chips turn into peeling paint. Minor scratches turn into exposed wood. A little dullness turns into a finish that needs complete refinishing.
Annual cabinet touch-up visits catch these issues early, when they're quick and inexpensive to fix.
What to Expect Cost-Wise
A typical cabinet touch-up visit costs anywhere from $200 to $800, depending on your location and the scope of work. Either way, it's a fraction of what you'd pay to replace cabinets that weren't maintained properly.
DESIGN TIP:
Build a relationship with your cabinet guy. Schedule annual visits even if you don't think you need them. They'll catch small issues you haven't noticed, and you'll have someone on speed dial when something does go wrong.
Common Cabinet Problems (And How to Fix Them)
Even with great maintenance, things happen. Here are the most common cabinet issues and how to address them.
Grease Buildup Near the Stove
The problem: Cooking grease floats through the air and settles on nearby cabinets, creating a sticky film.
The fix: Wipe down cabinets near the stove more frequently (daily if you cook a lot). Use a cleaner designed to cut grease, and don't let it build up.
Water Damage Near the Sink
The problem: Water splashes from the sink, pools on the counter, and seeps into cabinet edges, causing swelling or discoloration.
The fix: Wipe up water immediately. Make sure your sink is properly sealed. If you see swelling, call your cabinet touch-up specialist before it gets worse.
Chipped Paint or Finish
The problem: High-traffic areas (especially around handles) get dinged from daily use.
The fix: Touch up small chips with a color-matched paint pen. For larger chips, call your cabinet specialist.
Faded Color from Sunlight
The problem: Cabinets near windows can fade over time from UV exposure.
The fix: Install UV-protective window film, or rotate cabinet contents so fading is less noticeable. A professional refinish can restore color if needed.
Loose Hinges or Hardware
The problem: Cabinets get opened and closed hundreds of times, and screws can loosen.
The fix: Tighten screws with a screwdriver. If the screw hole is stripped, use a toothpick and wood glue to fill it, then re-screw. If that doesn't work, call your cabinet specialist.
Wrapping It Up: How to Clean Kitchen Cabinets So They Last Decades
Beautiful cabinets aren't about spending the most money. They're about choosing quality and then taking care of it.
1️⃣ Ask your manufacturer what they recommend.
2️⃣ Build a simple daily cleaning routine with the right products.
3️⃣ Find a cabinet touch-up specialist and schedule annual visits.
That's it. Three habits that take almost no time but add years (even decades) to your cabinetry.
Your cabinets are one of the biggest investments in your kitchen. Treat them like it, and they'll reward you with 20+ years of beauty instead of needing replacement in 10.
Your Next FREE Step: Choose Cabinets Worth Maintaining
If you're planning a kitchen renovation and want to make sure you're choosing cabinets that are built to last, grab my free guide before you finalize anything:
Grab My FREE guide→ Kitchen Renovation on a Budget: Top 7 Mistakes to Avoid When Choosing Kitchen Cabinets
Inside, you’ll learn the right questions to ask, the materials to look for, and the traps to avoid so you end up with cabinets that are worth all this care and attention.