
How to Design a Baker's Kitchen: The Features Every Home Baker Actually Needs
When kitchen design rules don't apply to how you actually bake
Here's the thing about designing a baker's kitchen: most kitchen design rules are built around cooking, not baking. And baking has completely different needs.
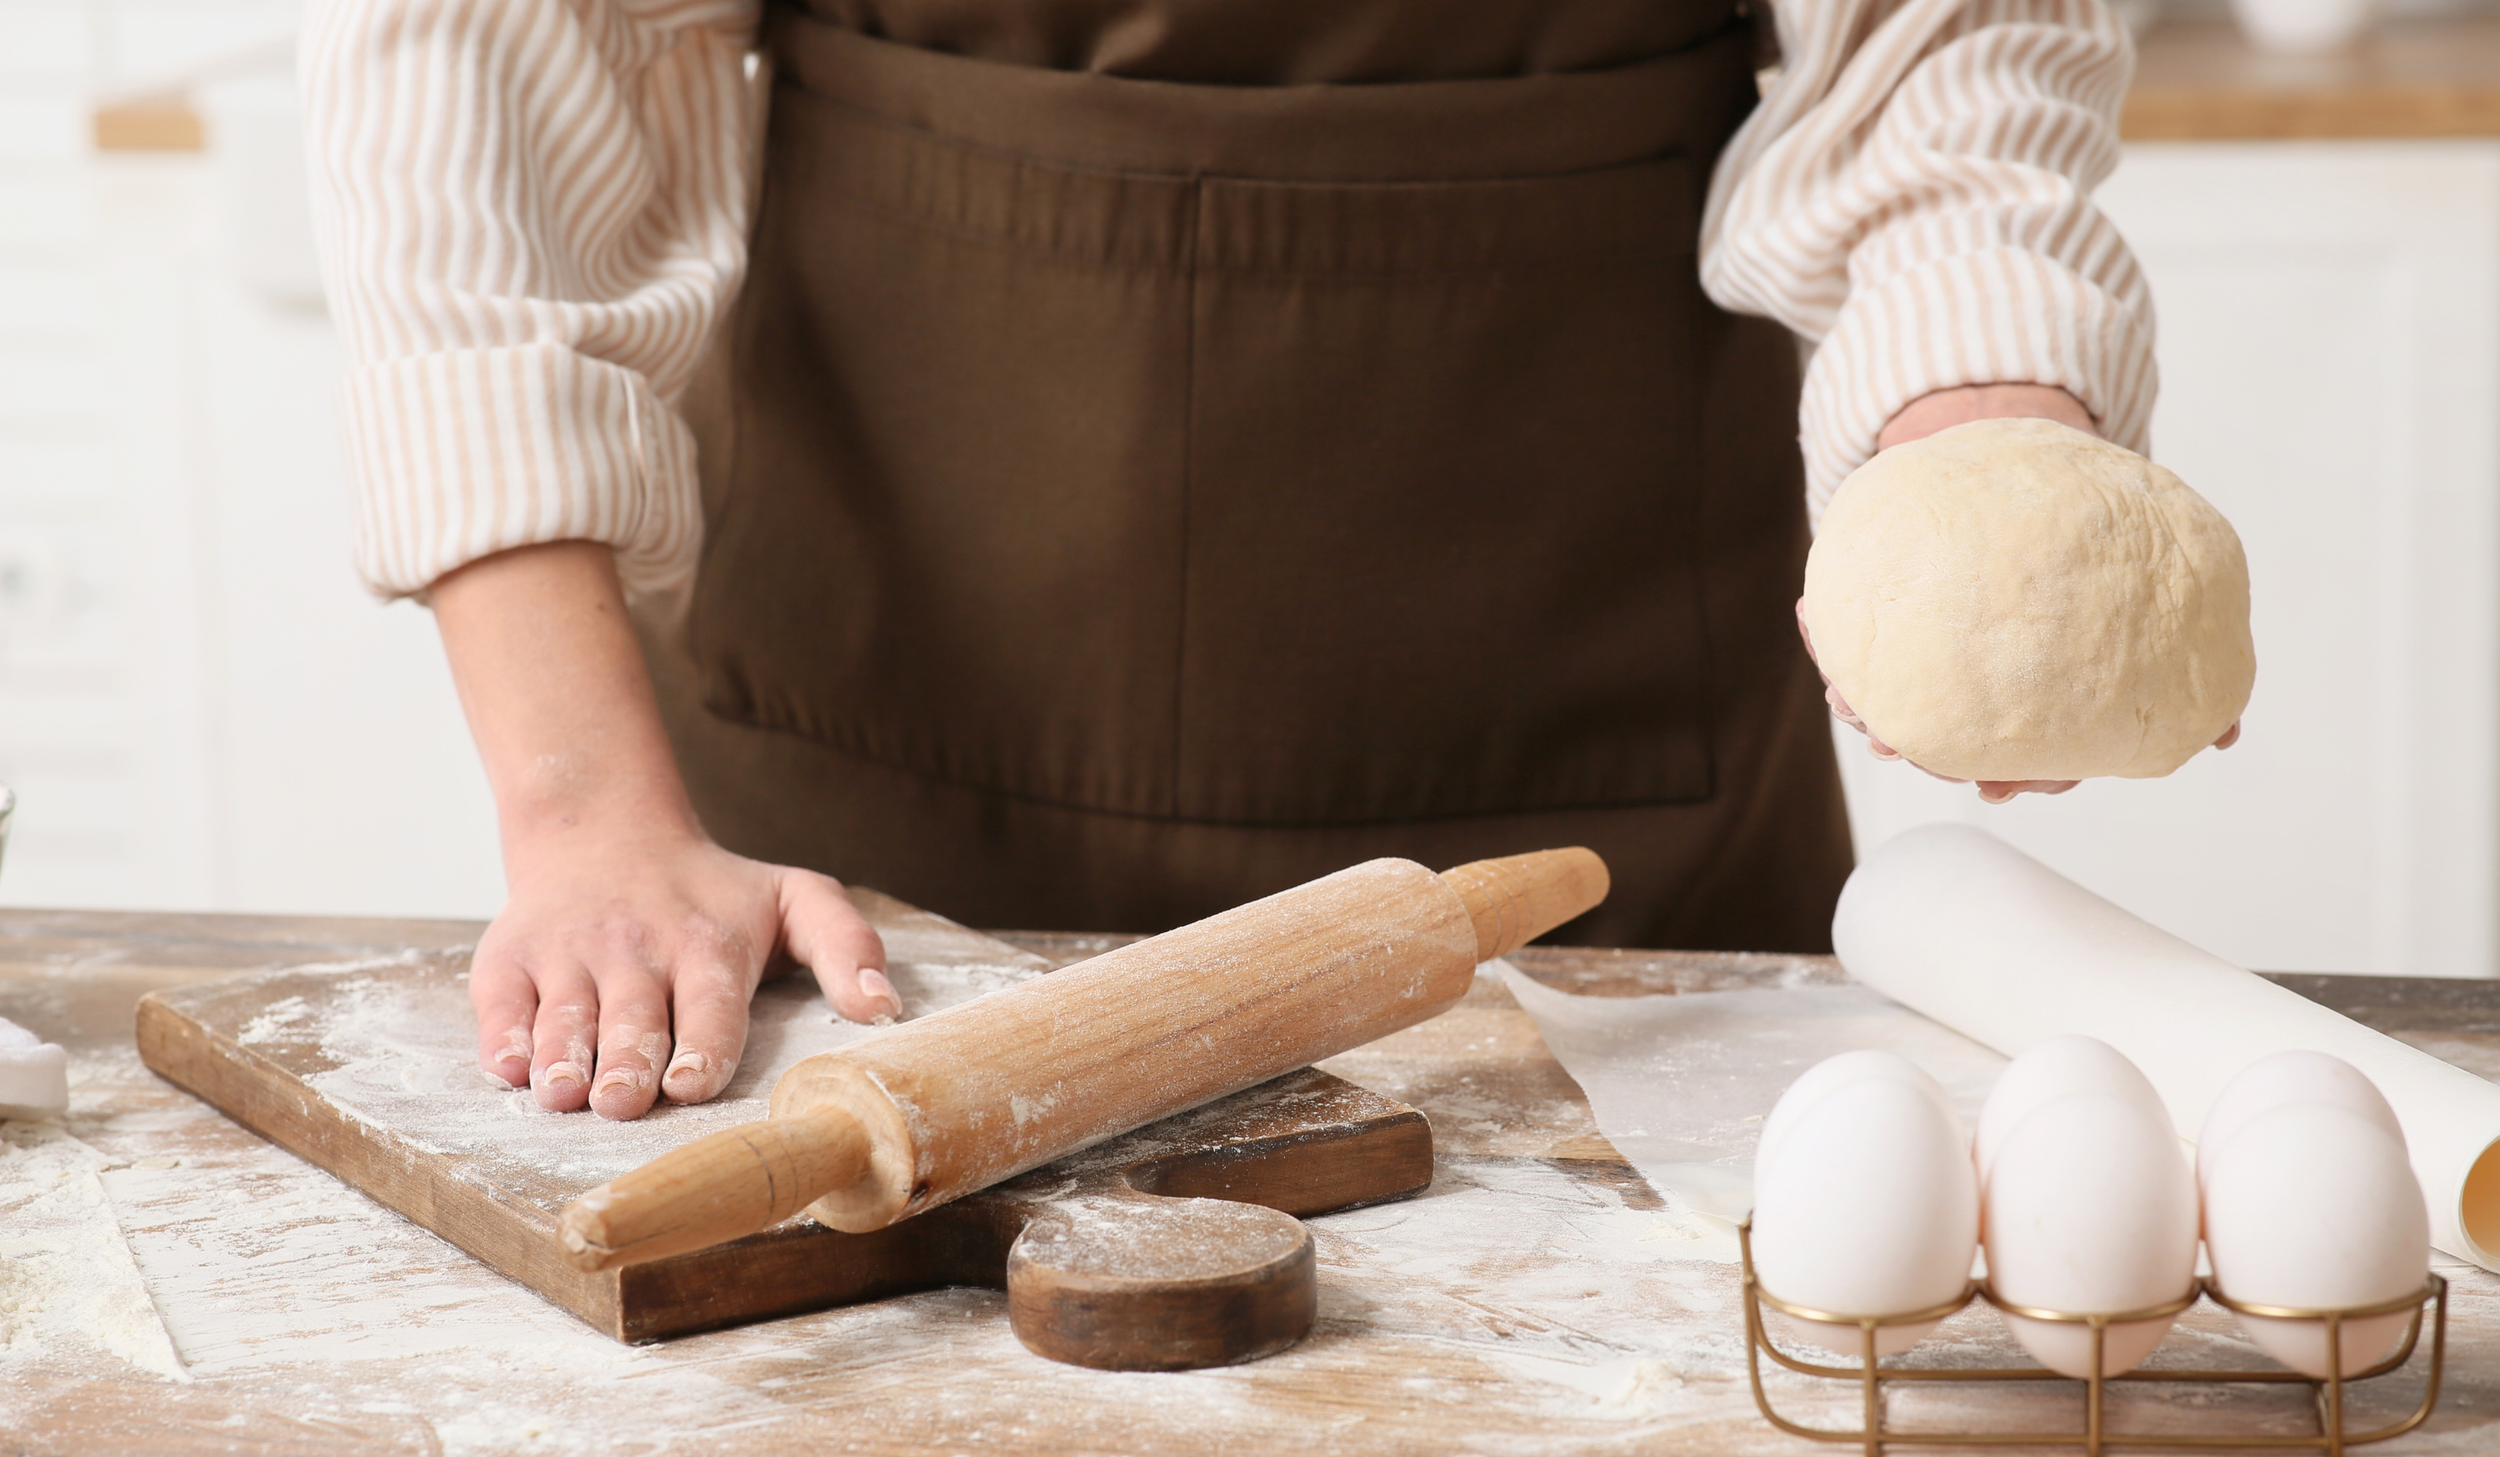
You don't need fancy appliances on your island. You need workspace. Lots of it. Uninterrupted, flour-covered, dough-rolling workspace.
You don't need a sink breaking up your prep surface right where you need it most. You need somewhere to park your 25-pound KitchenAid that doesn't require a CrossFit workout every time you want to make banana bread.
And you definitely don't need generic oven recommendations. You need oven space that actually matches how you bake. Are you a bread baker who needs steam? A cupcake person who bakes multiple batches? These aren't 🙅 the same thing.
If you're planning a kitchen renovation on a budget (or not on a budget) and you bake regularly, the standard kitchen design rules don't always apply. A baker's kitchen design requires different layout decisions, different storage solutions, and different appliance choices than a kitchen built purely for weeknight dinners.
Let's walk through the features that actually make a baker's kitchen functional.
Baker's Kitchen Design Rule #1: Keep the Island Clear (No Sink, No Appliances)
Why This Matters for a Baker's Kitchen
Flour goes everywhere when you're baking. You need uninterrupted, cleanable workspace, not an island broken up by a sink or cooktop.
A sink in the island cuts your prep surface right where you need it most. A range on the island creates a safety hazard when you're rolling dough and moving hot sheet pans around.
The island in a baker's kitchen should be a pure work surface. That's it.
What to Put on the Island Instead
When following baker's kitchen design principles, the island becomes prime storage real estate:
Deep drawers for mixing bowls, sheet pans, and baking tools
Pull-out drawers for parchment paper, plastic wrap, and foil
A lower section of the island at counter height (standard 36 inches) for rolling dough
Marble or quartz surface specifically for pastry work (stays cool)
What About a Prep Sink?
A small prep sink on the perimeter (near the main workspace) is fine in a baker's kitchen. Just don't break up the island surface with it.
If you're planning a kitchen renovation on a budget and can only afford one sink, skip the island sink. Put it on the perimeter where it won't interfere with your workspace.
📖 RELATED: Island layout is just one of many baker's kitchen design decisions that can make or break your workflow. For more on the sneaky details that derail kitchen renovations, check outKitchen Renovation Reality Check: 5 Details Homeowners Always Overlook.
Kitchen Design Rules for Bakers: Solve the KitchenAid Problem
The KitchenAid Dilemma
Every baker's kitchen has this issue:
The mixer is heavy (22-26 pounds depending on the model). It's tall (doesn't fit under standard upper cabinets). You use it constantly if you bake regularly. And most storage solutions make it incredibly hard to access.
This is where traditional kitchen design rules fail bakers completely.
Option A: The Appliance Garage
A cabinet section with a roll-up or pocket door that conceals the mixer when not in use. Keeps counters clean and uncluttered.
The key detail for baker's kitchen design: Use appliance rollers so you can slide the mixer out without lifting it.
The appliance garage must be designed with:
Correct interior height (at least 18 inches)
Outlet placement inside the cabinet
Accessible depth (not too deep or you'll never use it)
Option B: Dedicated Corner Display
Embrace the KitchenAid as a design element in your baker's kitchen. Choose a color that complements your kitchen palette. Style the corner intentionally (a beautiful mixer, a cookbook, a bowl of lemons).
This is the easiest solution if you bake multiple times per week. No wrestling with storage. No appliance garage logistics.
Option C: The Lift Mechanism
Cabinet hardware exists that allows the mixer to be stored inside a lower cabinet on a spring-loaded lift. When you need it, it lifts up to counter height.
Good for bakers who don't use the mixer daily but still want it accessible.
Shop the Solution: Appliance Sliders
If you're planning an appliance garage in your baker's kitchen, this is the one accessory you absolutely need. Small appliance rollers solve the biggest problem with storing heavy mixers: getting them in and out without throwing out your back.
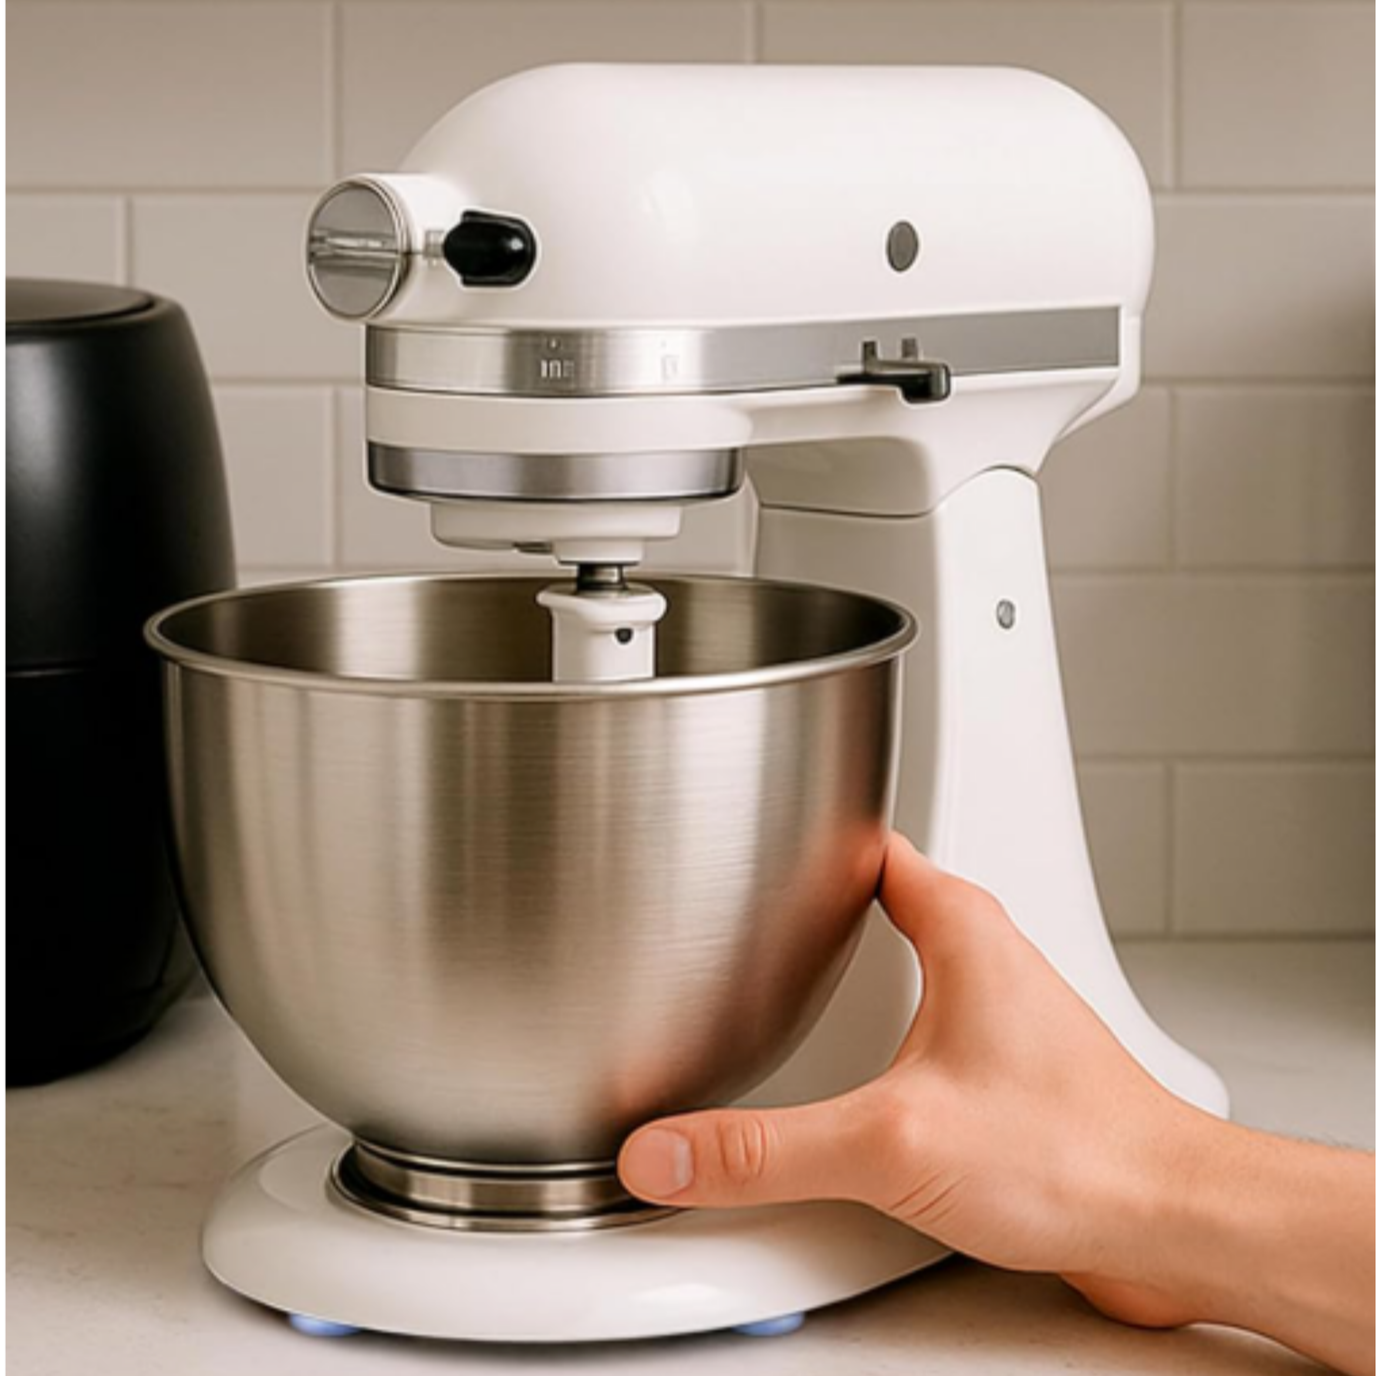
Appliance Sliders for Kitchen (24-Pack)
These little sliders stick to the bottom of your KitchenAid and turn that 25-pound beast into something you can glide with one hand. No more wrestling your mixer out of the cabinet like you're training for the Olympics! SHOP →
This is an affiliate link, which means I may earn a small commission if you purchase.Baker's Kitchen Design: Choose Your Oven Configuration Based on How You Actually Bake
The Double Oven Question
Most serious baker's kitchen designs include space for a double oven. But "double oven" doesn't mean the same thing to every baker. This is where kitchen design rules need to be customized to your actual baking habits.
Option A: Traditional Double Oven (Two Standard Ovens Stacked)
Best for: Cupcake bakers, cookie makers, and anyone baking multiple batches simultaneously
Allows you to bake at two different temperatures at once. More commonly available and generally more affordable. This is the standard choice for most baker's kitchen renovations.
Option B: Oven + Steam Oven Combination
Best for: Bread bakers who want bakery-quality crusts
Steam ovens create professional-level bread crusts that you can't achieve in a standard oven. They're genuinely transformative for serious bread bakers.
Steam ovens can also be used for vegetables, fish, and reheating without drying food out.
Brands to consider: Miele, Wolf, Bosch
More expensive, but if you're a dedicated bread baker, it's worth the investment even on a kitchen renovation on a budget (you might save elsewhere to prioritize this).
Option C: Oven + Speed Oven (Convection Microwave)
Best for: Bakers who want quick reheating options without sacrificing oven space
Speed ovens can bake, roast, microwave, and steam. Great for busy households where the oven is constantly in use.
Option D: Standard Oven + Warming Drawer
Best for: Bakers who proof dough frequently
A warming drawer set to low temperature is perfect for proofing bread and letting dough rise. Also great for keeping baked goods warm until serving.
In a baker's kitchen design, this is often the most practical and budget-friendly option.
Kitchen Design Rules for Baker's Kitchens: The Additional Must-Haves
Countertop Height Considerations
Standard countertop height is 36 inches, but for a baker's kitchen, many bakers prefer a lower section (32-34 inches) for rolling dough. The lower height gives you proper leverage and makes rolling easier on your back and shoulders.
Consider a lower section of the island or a dedicated baking counter at a more ergonomic height.
Storage for Baking Tools
Deep drawers for sheet pans, cooling racks, and muffin tins
Vertical dividers in a deep drawer for storing sheet pans upright (no more digging through stacks)
Pull-out cabinet for stand mixer with a lift mechanism
Countertop Material for Baker's Kitchen Design
Marble: Stays naturally cool (ideal for pastry and chocolate work)
Quartz: Durable, non-porous, easy to clean flour off
Butcher block: Warm and beautiful, but requires sealing and maintenance
If you're doing a kitchen renovation on a budget, quartz gives you the best combination of function and durability for a baker's kitchen.
Natural Light
Bakers need to see true color. Is that bread golden? Is that cake done? Good natural light or high-quality LED lighting is essential in a baker's kitchen design.
Pantry Storage
Bakers accumulate more ingredients than average: multiple types of flour, different sugars, specialty extracts, chocolate, and nuts. A dedicated pantry section with pull-out shelves is a game-changer.
Invest in airtight canister storage for flour, sugar, and other bulk dry goods. This keeps ingredients fresh and makes your baker's kitchen more organized.
DESIGN TIP:
One of the smartest kitchen design rules for bakers? Install electrical outlets inside your appliance garage or baking station so you don't have cords draped across your workspace.
Wrapping It Up: Baker's Kitchen Design
When you ignore the standard kitchen design rules and design specifically for a baker's kitchen, baking feels effortless instead of exhausting. The right workspace, the right storage, the right oven configuration… all of it adds up to a kitchen that supports your baking habit instead of making it harder.
Whether you're planning a full kitchen renovation on a budget or just tweaking your existing baker's kitchen, these details matter. They're the difference between a kitchen you tolerate and a kitchen you absolutely adore. 🫶
Your Next Step: Free Kitchen Cabinet Guide
If you're planning a kitchen remodel, you’re gonna want to grab this up pronto. Because here's the thing: cabinet decisions feel overwhelming when you're in the thick of it, and it's easy to overlook details that seem small but end up being huge. Like drawer depth. Or how your hardware will look against your backsplash. Or whether that glass front cabinet will actually work with your lifestyle.
This free guide covers:
✅ The 7 most common cabinet mistakes (and how to avoid every single one)
✅ What to double-check before installation
✅ Red flags to watch for whether you're DIY or working with professionals
✨ Grab the FREE guide here→ Kitchen Renovation on a Budget: Top 7 Mistakes to Avoid When Choosing Kitchen Cabinets

Meet Taylor Ferrell: Interior Designer in San Luis Obispo
Hi there! I'm Taylor, the designer behind Salt Kitchen & Bath near San Luis Obispo. I specialize in kitchens and bathrooms that look great and work even better. Think: functional, intentional, and built for real life.